7 min read
Sowing Radishes for Crisp Roots
Plant short rows in cool weather, thin early, and learn to harvest a radish before it goes woody.
On this page
A radish can come up so quickly that the seed row looks like a success before its most important work has begun. A week later it is a solid band of green. If the seedlings stay packed together, only a few roots may swell. After a hot stretch, even those can turn pithy. A thin row sown where you can check it every day makes a better crop than an entire packet tipped into a broad trench.
Start with the shape you want to harvest. Small red globe varieties are useful for a first crop. They develop quickly and show their shoulders near the surface, where size is easy to judge. A French Breakfast type produces a slender root that takes up little space. Long daikons and winter radishes need deeper soil, more growing room, and often a different sowing season. Follow the variety guidance before trying to fit a large winter root into a window box.
Read the season before opening the packet
Spring radishes prefer cool growing weather. Sow as soon as you can make a loose seedbed without working waterlogged ground. Check the likely temperatures for the next few weeks as well as the day's weather. A mild afternoon can be followed by a long cold rain that delays emergence. Conversely, a late sowing can germinate in a hurry and still produce weak roots as heat builds. In a warm climate, autumn or winter may be the easiest season.
Pick a site with direct sun and enough access to water. A little afternoon shade may help as weather warms, but deep shade tends to favor leaves over roots. A container works well for small types if it has drainage and enough depth for roots below the edible portion. A long shallow planter may suit a short globe radish. A tall daikon will run out of space long before the leaves look crowded. Check the mature root size on the packet.
If the ground is stony or compacted, loosen the top layer and rake out large clods. A shallow container filled with loose potting mix gives short rooted varieties an alternative. Avoid adding a heavy dose of nitrogen before sowing. If your soil is already suitable, a fast spring radish may finish with little additional feeding. Fresh manure is unsuitable around an edible root crop. Follow local soil test recommendations if you need to improve a bed before use.
Mark the rows and sow by hand
Water a dry bed and wait until the surface is workable. Scratch a shallow furrow with the end of a stake. About half an inch is common for small radishes, but follow the packet. Lay the seeds individually if you can. Leaving a little room at sowing makes thinning easier, and most radish seeds are large enough to see against dark mix. Put the date and variety on a label at the end of the row. If you sow more than one kind, leave enough space to know which row you are pulling.
Cover with fine soil and water with a gentle spray. Keep the surface evenly moist while the seeds germinate. A crust on heavy soil can stop seedlings from pushing through, so avoid blasting the bed with a hose. If a hard crust forms, moisten it and loosen only the very top between the seedlings. A light insect mesh secured around the bed can reduce flea beetle damage in places where they are common. Leave enough slack for leaves to grow, and check below the cover frequently.
Plan a small second row while the first is still young. Seven to ten days between sowings can work in mild conditions, but warmth may speed up the second row and bring the harvests together. Grow a quantity you can use over several meals. A single short row can feed a household for longer than the size of the plants suggests. Keep spare seed cool and dry until a suitable sowing window returns.
Thin before you can see the roots
The seed leaves often emerge in pairs with a rounded shape. True leaves that follow are rougher and often irregular around the edge. When the plants are easy to distinguish, take out the closest extras. Snip at the soil line if pulling would disturb neighboring seedlings. Give each plant the final space specified for the cultivar, often around an inch or two for small globes and considerably more for larger types. Look along the row from the end. A pair that looks separate from above may be growing from almost the same point.
Where a row is partly empty, check how deeply you covered the seed and whether the surface dried before resowing. A row washed out by rain may have seedlings in a cluster just downhill of the furrow. Move the next sowing to a level strip or apply a lighter watering. If the only gap is at the edge of a container, keep the next row away from the rim, which often dries sooner than the middle.
As you weed, check for small round holes in the leaves. Flea beetles can leave a shot hole pattern and can injure seedlings badly when numbers are high. Slugs make rougher holes and often leave a trail. Do a short inspection in daylight and another after dusk if you are uncertain. Find the pest before treating a crop you expect to eat in only a few weeks.
Keep the roots expanding without interruptions
Feel the soil a little below the surface. A radish has a short season, and losing several days to dry conditions makes up a large fraction of its growing time. Water slowly so the root zone becomes moist without puddling. In containers, clear the drainage holes if water stands in the planter. A full watering followed by normal drainage is more reliable than repeated surface splashes. Try to keep the moisture fairly even as the roots enlarge. Very dry periods followed by abundant water can contribute to splitting.
If the plants grow tall leaves with little to show at the base, check spacing first, then light and temperature. A young radish simply may not have reached the swelling stage. Pull a single plant to compare its root with the cultivar description. A central stalk with elongated growth is a sign that the plant is moving toward flowering, especially in warm weather or when the variety is poorly timed for the season. Once that shift happens, sowing a new row at a cooler time is usually more productive than feeding the old one.
Do not judge all varieties against a single calendar. Radishes advertised as ready in roughly a month can take longer in cool weather. Larger kinds can take considerably longer. Put the expected harvest window on the label and start looking just before it arrives. If the crop is progressing unevenly, harvesting the most mature plants first also leaves more room for the smaller ones.
Pull the biggest shoulders and taste one
If the sowing was crowded, harvest it in two passes. Pick the widest shoulders first and give the smaller neighbors several days to fill out if the weather stays cool. Where the root does not show above the soil, use a marked stick or the width of a fingertip to compare shoulders without uncovering the whole row. Put the soil back around roots you leave. For a long winter radish, check the shoulder and then loosen a sample with a fork placed well beyond its sides. Lifting one intact root tells you more about how the crop developed than the size of its leaves.
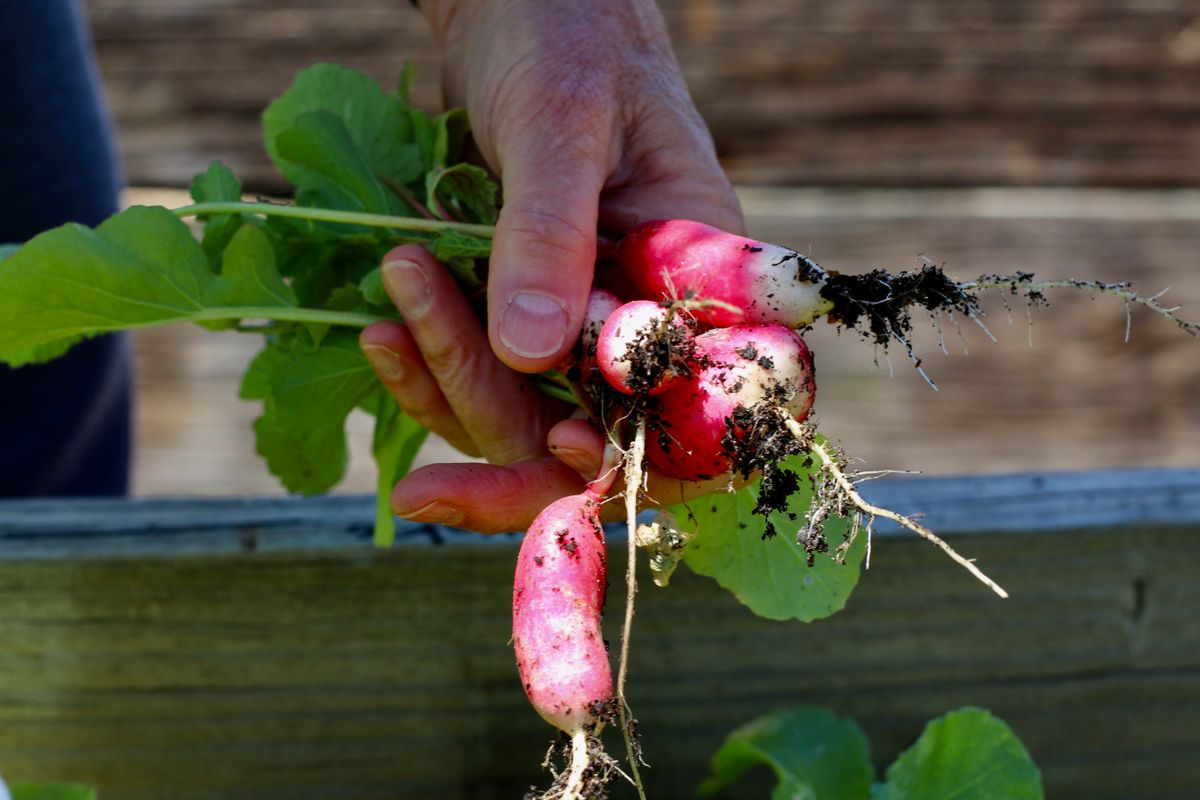
Look where the leaves meet the ground. Many globe radishes show a shoulder, and moving a little soil to one side reveals its width. Pull a root that looks close to the advertised size. Wash it and cut it across the middle. A crisp, evenly filled center tells you the row is ready. A dry or spongy patch in an otherwise sound root suggests you should check the rest promptly. Hot conditions and waiting too long can both reduce quality.
Pull gently by the tops in loose soil. Loosen the soil with a fork before lifting a long variety so you do not snap it. Pick the larger roots every day or two while the row matures. Twist or trim off the tops before storing the roots in the refrigerator. Keep sound roots separate from split or bruised ones and use the damaged ones first if otherwise fit to eat. Clean, tender greens can also be cooked if you want to use them.
A thin shaded strip at the end of the row may stay cooler but grow more slowly. Try pulling one root there and one in the bright part rather than using the biggest shoulder as the signal to harvest everything. Record which end matured first before placing the next short sowing.
When the row is empty, write down how many days passed between sowing and the first useful harvest. Note whether the last roots were as good as the first. A quick record helps you decide whether the next row needs more space, a better season, or simply fewer seeds. If warm weather shut down the spring crop, use that bed for something that likes heat and try radishes again as the season cools.
Back to top