7 min read
Why a Grow Bag Can Stay Wet
A fabric container can drain freely and still keep its roots too wet. Work out where the water is going before you change the bag or the mix.
On this page
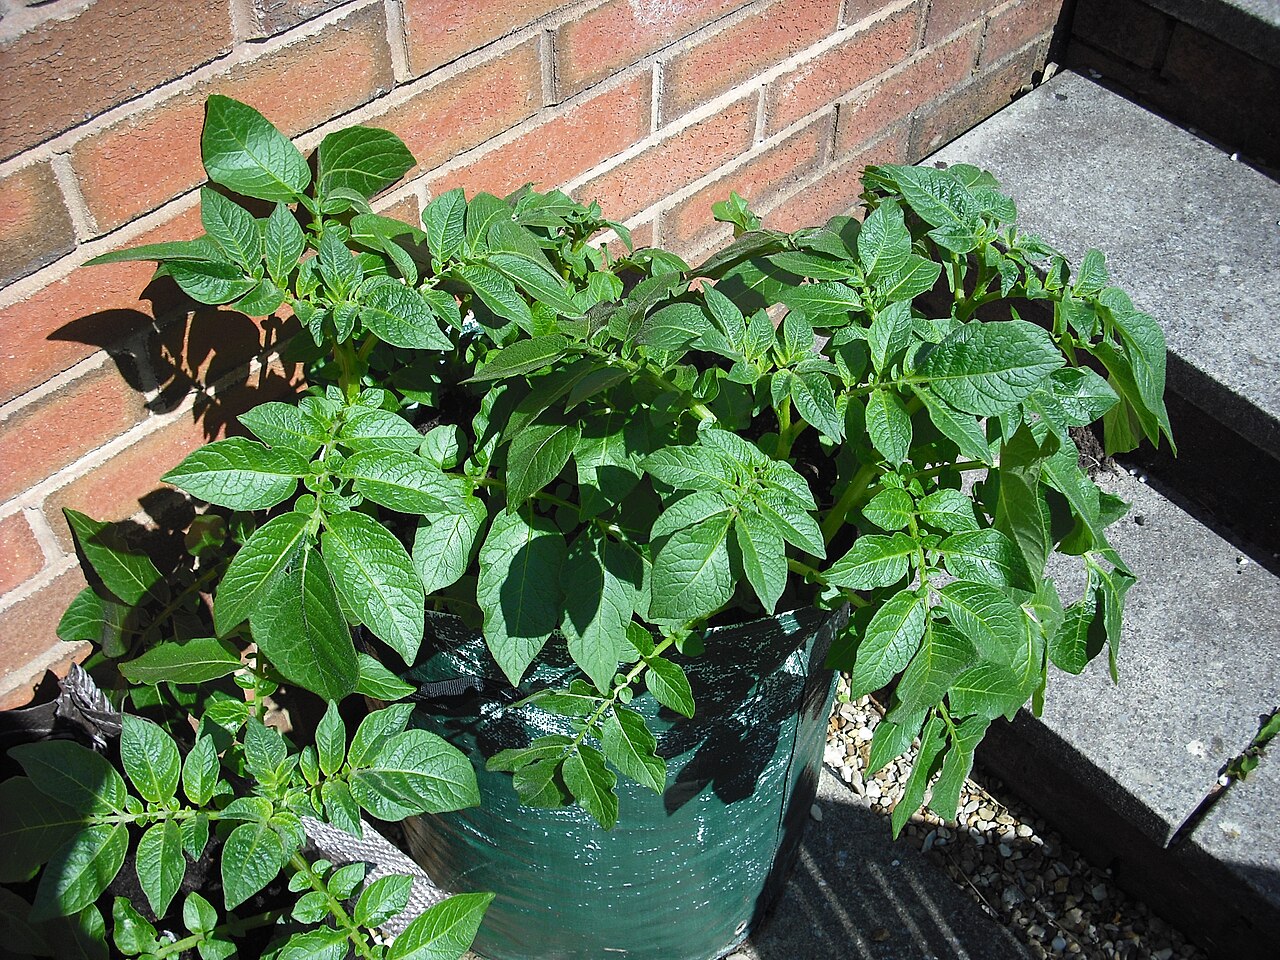
Water comes out of the bottom of a grow bag almost as soon as you pour it in. Later the plant looks limp, and the obvious conclusion is that the water ran right through. Yet the center of the bag is cool and wet two days later. Both observations can be accurate. Water can move along the inside seam or between a shrunken mix and the side of the bag without soaking the middle evenly. On another day the lower part of the container can stay damp because a saucer holds the water it just drained. The advantage of fabric is that you can observe some of this without emptying the pot.
Set up a bag you can inspect
Choose a size that fits the plant you want to grow. A shallow bag for fast greens is easy to check from above. A deeper bag for a substantial crop such as a tomato needs enough volume to buffer hot days and enough access for you to test moisture below the surface. A giant bag can remain wet a long time when filled and planted with a single tiny seedling, while an undersized bag may demand repeated watering when the crop matures.
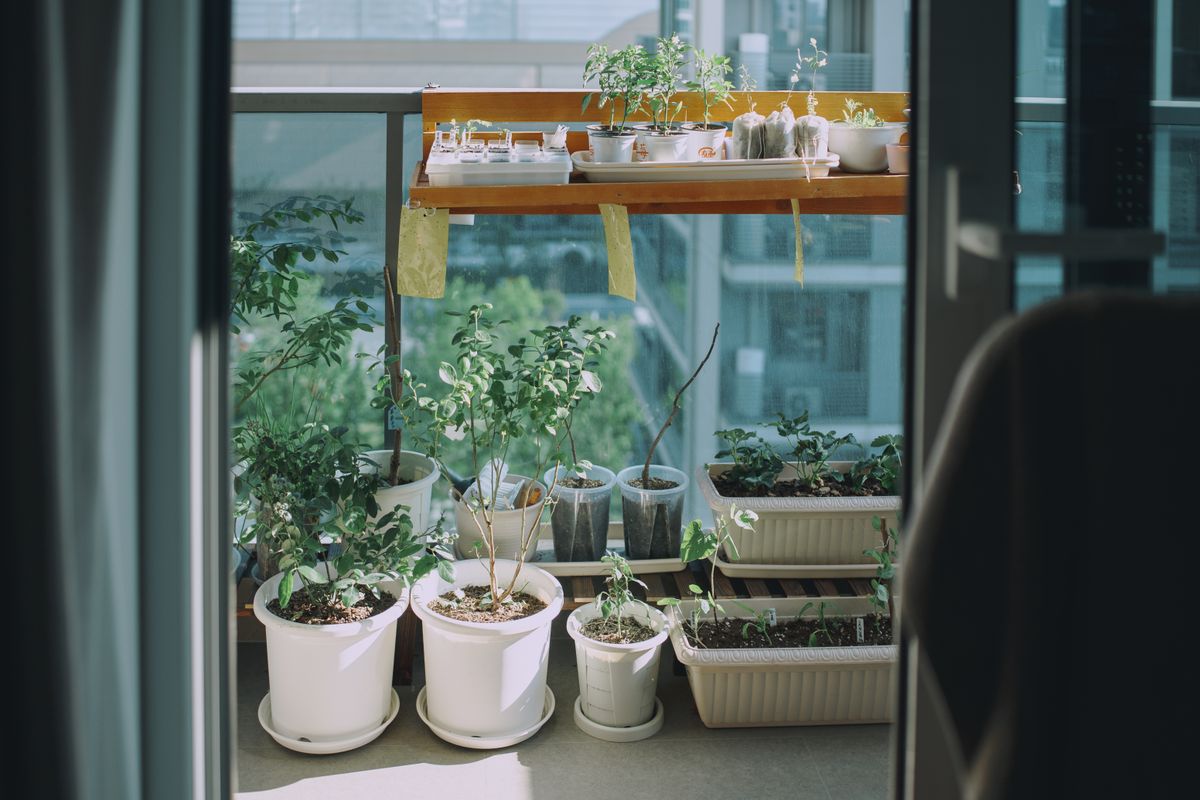
Place the container where drainage will cause no damage. If you are on a deck or balcony, find out whether water can run over the edge or through seams, and whether containers are allowed. Use a tray if needed to catch runoff, but put the bag on a sturdy support that leaves space between the bag and the water. Empty the tray after watering or rain. Do not let a saturated bag sit in standing water, and never leave water collected where it can breed mosquitoes. On ground that drains, a small air gap under the base is optional; what matters is whether the base actually stays free of ponded water.
Check the condition of an older bag before planting. Roots may have grown through the fabric into soil underneath. If so, do not simply pull a live crop free and assume its root system will remain intact. Retire the bag after harvest or plan its move well in advance. Heavy crusts of minerals on the cloth may make it difficult to read the fabric by eye. A pale patch could be a dry area, a salt stain, or simply faded material. Use the mix itself to confirm any impression you get from the outside.
Give the roots a mix that holds both air and water
Use a container mix that stays open after watering. Garden soil and unfinished compost can compact badly in a bag, especially after repeated rain. A container mix can contain ingredients such as bark, coir, peat, perlite, or other materials suited to growing in pots. The blend needs to match the climate and crop. An airy mix that serves a pepper well in a rainy climate may dry too fast for lettuce on a dry roof. Start with a dependable commercial potting mix if you are unfamiliar with the components and make small trials rather than changing every bag at once.
Prewet very dry mix in a tub or bucket before filling. Sprinkle it lightly and fold it with your hands or a scoop until it resembles a wrung out sponge. Some dry ingredients repel water at first, which encourages the first irrigation to make channels instead of wetting the whole root zone. A handful of properly moistened mix should hold briefly when squeezed and break apart with a touch. If it pours water when squeezed, let it drain before planting.
Do not pour gravel in the bottom to fix drainage. An abrupt boundary between fine mix and a coarse layer can keep the bottom of the fine layer wet until enough water accumulates to cross it. The gravel also takes away root volume. Fill the bag with the same compatible mix from bottom to top. Settle it gently without packing it hard. Leave a shallow rim so that watering can soak in slowly instead of washing the surface over the edge.
Follow one watering all the way through
Start when the plant is due for water. Check at least two places, one near the center and one nearer the edge, down into the part where the roots live. A slender wooden skewer can help if you withdraw it carefully and look for dark damp particles. It gives you a useful clue, although bark can be dark even when it is dry. A fingertip works for a small bag; for a larger one, use a narrow trowel near the outer edge occasionally and close the hole afterward. The point is to check beyond the surface without repeatedly tearing roots.
Apply water slowly across the top in two or three passes. The first pass should moisten the upper layer. Wait a few minutes, then give the mix time to take in the next portion. Watch where runoff first appears and how much comes out. If water immediately escapes from one spot while the rest of the fabric looks dry, pause and wet the surface in smaller amounts. Direct some water toward the old root ball of a transplant; a peat plug and surrounding mix can take up water at different rates.
Once you see modest drainage, wait for the bag to stop dripping. Check the mix again below the top. A wetted bag will be heavier, but do not lift a large saturated container to prove the point. Instead, note how the color and texture compare to your earlier sample. If the bag is small enough to lift safely, its weight will become a useful reference for future decisions. Label the pot with the day you last watered if you are trying to understand a recurring problem and multiple people care for the plants.
Work out what is causing a wet base
A dry top and damp bottom can be normal. Roots need air, so the important question is whether the bottom stays saturated long after irrigation. Wet fabric in contact with flat paving is slow to dry. Raise the bag on a stable grate or pot feet that will not damage the surface, and check after the next watering. A bag crammed against other containers also dries more slowly, especially in still weather. Allow enough space around it for air to pass, without putting a top heavy plant in the path of strong wind.
If the lower mix stays glossy wet, smells sour, or squeezes out water several days after an ordinary watering in mild weather, look at how often water reaches it. Rain on a balcony is not uniform. A roof edge can deliver a narrow stream into one pot even when the adjacent container is dry. A gutter leak or automated line can also keep a bag saturated. Move the bag out of the drip line or stop the timed irrigation before deciding that the potting mix needs replacement.
Stressed roots can make leaves wilt even when there is ample water. An established plant in a soaking mix may perk up temporarily in cool evening air without having fixed its root problem. Check the root zone before watering in response to wilt. Roots that are black, soft, or foul smelling indicate decline; some healthy roots are naturally tan or dark, so firmness and smell matter more than color alone. If the crop is still small and the mix has collapsed, it may be practical to move the plant into fresh mix and address the drainage. A large fruiting plant is harder to disturb. Start by stopping extra water and correcting what happens underneath the bag.
Adjust for the crop as it grows
The same bag can go from damp for a week to dry by evening. Larger leaves draw more water, and a root system that fills the mix leaves less unoccupied space to store moisture. Weather changes also matter. Move from a fixed calendar to a brief daily check in hot weather and longer intervals during cool spells. For a plant that tolerates it, a thin mulch over the surface can reduce evaporation, but keep it clear of stems and continue checking underneath.
Drip irrigation works well when it wets the occupied root zone. One emitter can make a narrow wet column inside a large bag. Check after a run and try two spaced emitters or a different delivery pattern if the far side stays dry. Put identical containers on the same timer only if their crops, volume, and exposure are similar. A shaded bag of herbs and a sunlit bag holding a large fruiting plant usually have different needs. If a timer waters on a rainy day, a protected bag may still need it while an exposed one does not.
After harvest, tip the mix out where you can see its cross section if you plan to reuse the bag. Roots clustered along one seam, a dense slab at the bottom, or dry pockets reveal more than a season of looking at the outer fabric. Clean or replace a bag if disease was suspected, and follow local advice on handling the affected mix. A healthy bag can be dried and stored clean. Next year start with the one change your observations support. Improve the base clearance, change the mix, or alter the watering pattern individually. If you change all three, you will get another plant but learn much less about why it grew.
Back to top