8 min read
Turning Fallen Leaves into Leaf Mold
Give autumn leaves a damp, airy place to break down, then use the soft material to protect the surface of your garden soil.
On this page
A sack filled with autumn leaves feels substantial when it is standing upright by the shed. By midsummer it may be half as tall, with the older leaves packed together at the bottom and several dry leaves still rattling at the top. This is a normal stage in making leaf mold. The process runs on moisture, air, and time. You can collect the leaves once and visit them occasionally rather than managing a hot compost pile every week.
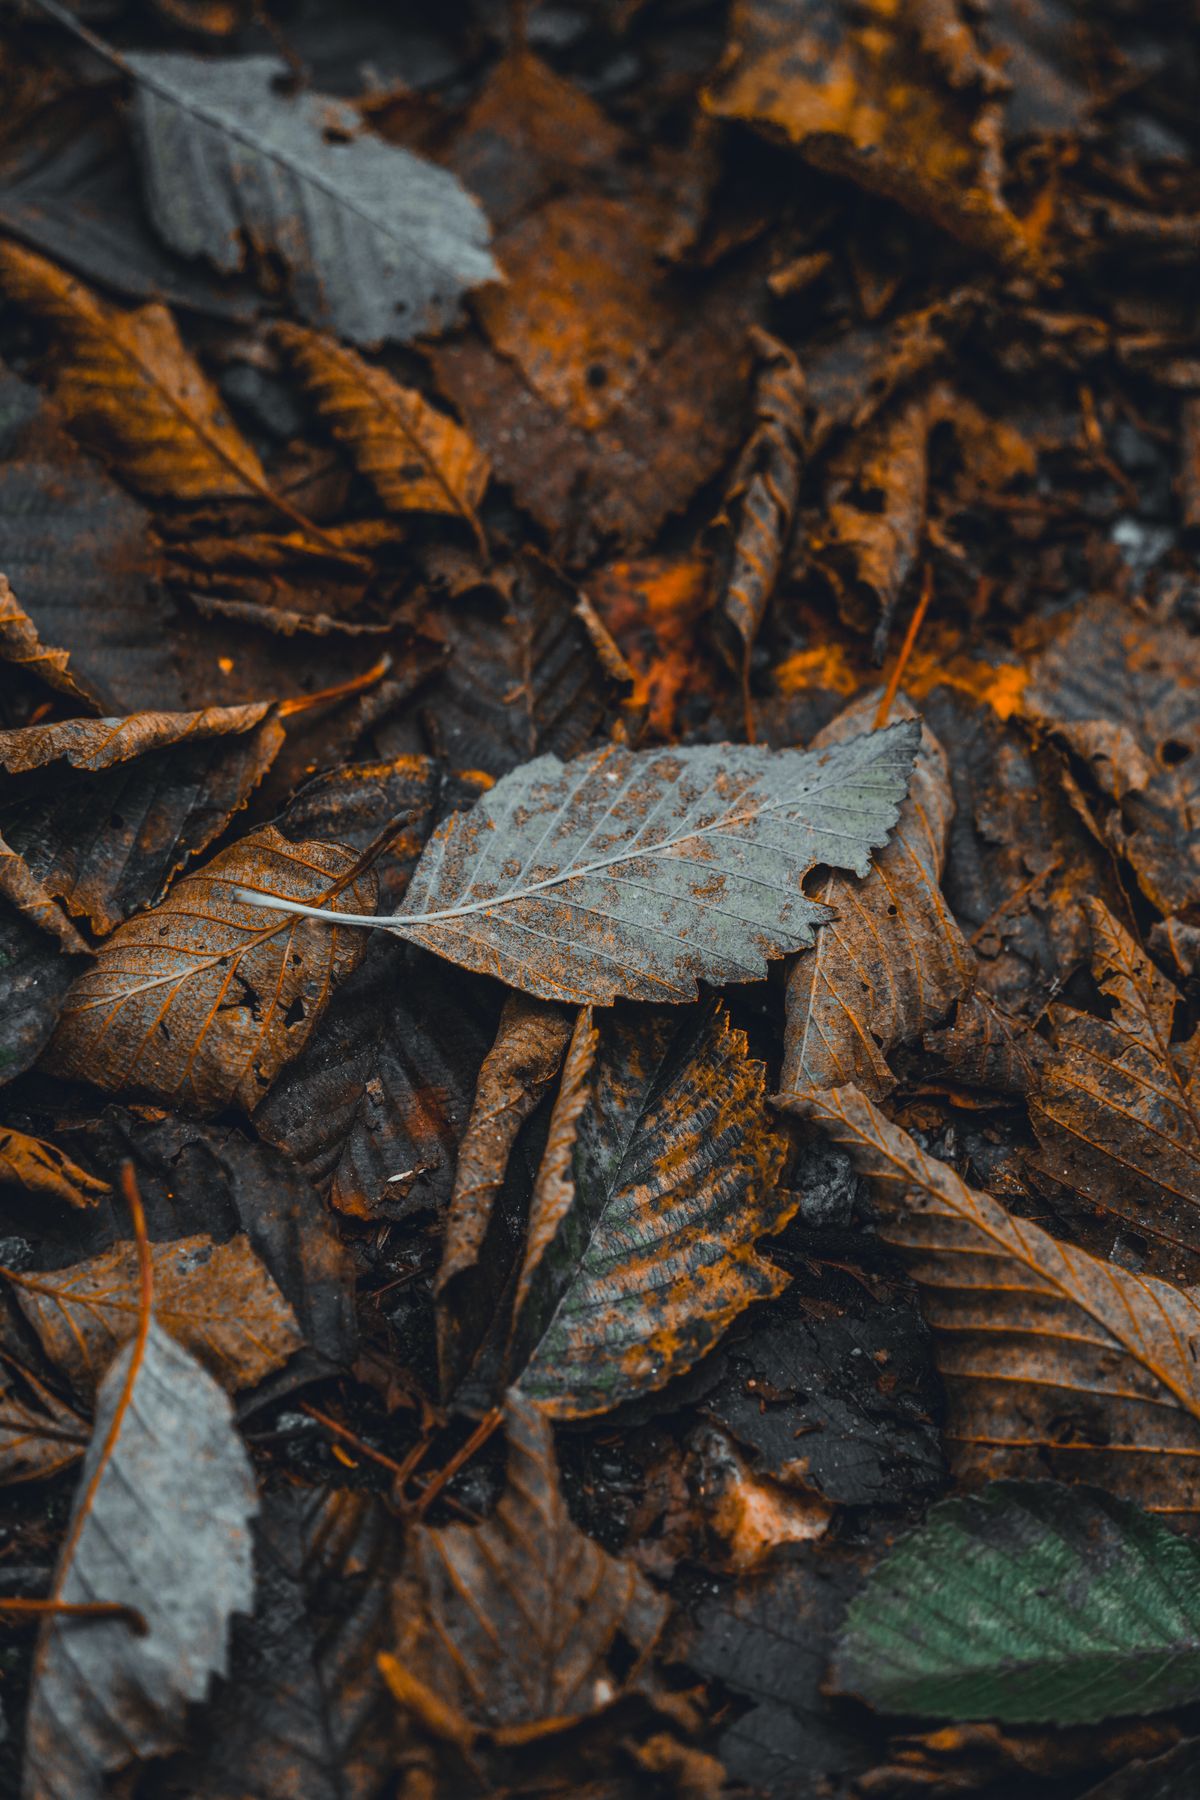
Leaf mold is decomposed leaf litter. Fungi do much of the work, particularly in the earlier stages of breaking down tough leaf material. A cool heap can make it, and there is no need to feed the heap with nitrogen rich ingredients just to get a high temperature. The finished material is valuable mainly for the way it holds water and covers or improves the surface of the soil. Its nutrient content varies and generally should not be counted on as the main fertilizer for vegetables.
Collect where you can keep the pile clean
Choose a dry spell to rake and move leaves. You will carry more per trip when the leaves are damp enough to settle together but have not absorbed an entire night of rain. Clear them from paths and lawn where a thick layer becomes slippery or smothers the grass. Where leaves are already serving a purpose, such as beneath established trees or in a sheltered patch of habitat, leave some in place. A garden with a clear walkway can still have quiet corners that hold leaf litter all winter.
Ordinary deciduous leaves are a good starting point. Thin leaves tend to break down sooner than thick, waxy leaves. Tough leaves are still useful if you can shred them or give them more time. Evergreen needles usually decompose slowly and are easier to manage in their own pile when you have a large quantity. Avoid mixing seed laden weeds, glossy litter, stones, and sticks into the bags. A short sorting session now saves time each time you spread a barrow load.
Choose a clean collection area. Leaves swept up from a busy road or a treated hard surface may carry unwanted debris or residues. If a plant suffered from a serious leaf disease, check local advice before adding its fallen leaves. A cool leaf pile does not guarantee the heat required to destroy plant pathogens or weed seeds. Ask your local extension office how to handle material from a disease that recurs in your garden. A separate collection can keep it out of places where susceptible plants grow.
Pick a container you can fill without a struggle
A simple cage made from a cylinder of sturdy wire mesh holds more than a few sacks and lets you judge moisture at a glance. Secure it upright on reasonably level ground where you can reach it with a watering can. Add leaves in layers as they arrive. If the cage sits in a windy place, cover the top with a piece of breathable fabric or another suitable cover that stays put. You want enough air to enter and enough shelter to keep leaves from blowing back across the lawn.
For a small collection, reuse a durable bag and make several holes for air and drainage. Add moist leaves without pressing them into a solid brick. Loosely close the top and keep the bag in a shaded place where you will find it again. Set the opening where rain can reach or where you can easily add water by hand. If you use several bags, mark them with the year. Bags of the same color can look exactly alike after two winters.
Shredding helps when the leaves are broad or dense. Run a suitable mower over a thin layer on a flat, clear surface, following the mower's instructions. Remove stones and sticks beforehand. A collecting bag may mix some clippings in with the leaves, which is fine in modest amounts if the lawn has no relevant herbicide restriction. A thick addition of fresh grass can turn the leaf mass into a wet mat. If you are raking by hand, compare one bag of shredded leaves with one bag left whole. It is an easy way to see whether the extra step is worthwhile with your trees.
Check moisture halfway through the heap
Dry outer leaves can hide a good moist center. In a bag, lift a handful from the middle and squeeze it. The leaves should feel damp, like a cloth you have wrung out. If they crunch and break rather than bend, add a little water and redistribute the leaves so it reaches more than the top few inches. A cage beside a roof overhang may get far less rain than you expect, particularly during weather when the rest of the garden is damp.
If the leaves are sodden, clumped, or sour smelling, open the pile and let water drain. The most useful adjustment may be a few more drainage holes in the bag or a cover that diverts a downpour without closing off air. A little mixing loosens matted layers. A routine of turning every week offers little benefit for a small heap that stays moist and has room for air. Some pockets will decay faster than others and can simply be separated when you harvest.
Place the pile where it can stay for more than one season without blocking an entrance or growing into something you forget to use. A shady fence corner often works because the leaves dry more slowly and the bin remains accessible. Leave a strip for the wheelbarrow and keep the pile clear of timber that needs to stay dry. A bag that has to be lifted over other bags is likely to remain uninspected until the garden needs it most.
Match the age of the leaf mold to its purpose
After about a year, depending on leaves, climate, moisture, and shredding, you may be able to pull apart the mat but still recognize many leaf shapes. This material makes a useful surface mulch around established plants. Spread it where you want to shade the soil and hold moisture, then leave crowns and stems open. Keep it away from closely spaced seedlings until they are tall enough to stand clear. If you need to water immediately afterward, check beneath the layer to see how much water passed through.
More fully decomposed leaf mold may need two years or longer. It looks dark, feels soft, and falls apart when you rub it between your fingers. Pull out long twigs and return large pieces to the next pile. A coarse garden sieve is handy if you need a fine texture for a small surface application, though you can use most of the material without screening. A few visible leaf veins in the mix do no harm when it is spread across a bed.
Use a small amount on the surface of a perennial border or in a soil mix appropriate to the plant and the site. Leaf mold can supply useful organic matter in soils that lose moisture quickly. In a heavy garden soil it can contribute to a more crumbly surface over time, particularly if you avoid walking on the bed. For seed starting, commercial mixes are more predictable in texture, nutrients, and cleanliness than a batch of leaf mold. Save the homemade material for an established area if the source leaves or state of decomposition are uncertain.
Start with one bed and watch what changes
Choose a section of a border where bare soil tends to dry hard. Apply a thin, even layer and keep the base of each plant open. Leave a nearby section under its usual care. After a few similar watering sessions, lift the cover and see which spot stays easier to work. You can also compare the number of new weeds, though leaf mold will not stop a perennial weed from pushing up from roots already in the bed. Observe the same spots in a dry period and after rain.
Keep a little leaf mold in reserve if you are planting through a long summer. A loose cover can be moved out of the way when you sow and brought closer once a row is established. Watch for slugs in damp weather, especially close to fresh transplants and leafy greens. If you find feeding damage, clear dense cover away from vulnerable plants and inspect the soil at night. Around established shrubs, a larger covered area may need less attention than the same material spread near tiny seedlings.
Once you know how quickly your own leaves break down, set up a rhythm that fits the garden. In an open cage, fill the next container before lifting out the last of the older material. In bags, keep new leaves and old leaves separate so you can use the finished batch without sorting through wet fresh leaves. The best label may be the simplest one, such as “oak and maple, shredded, autumn.” It tells you why one bag is ready sooner than another and whether you want to change anything next year.
You do not need enough leaf mold to cover the whole garden. The most productive place to start may be a narrow bed by the door, a line of shrubs beneath the trees that provided the leaves, or the patch that dries first every summer. Pick a use for the amount you have. The next batch can stay in the cage until there is a good reason to move it.
Royal Horticultural Society guidance on making and using leaf mold
Back to top