8 min read
Growing Zinnias for a Cutting Garden
Plan a short succession of sowings, pick stems at the right stage, and keep a small bed producing flowers for the vase.
On this page
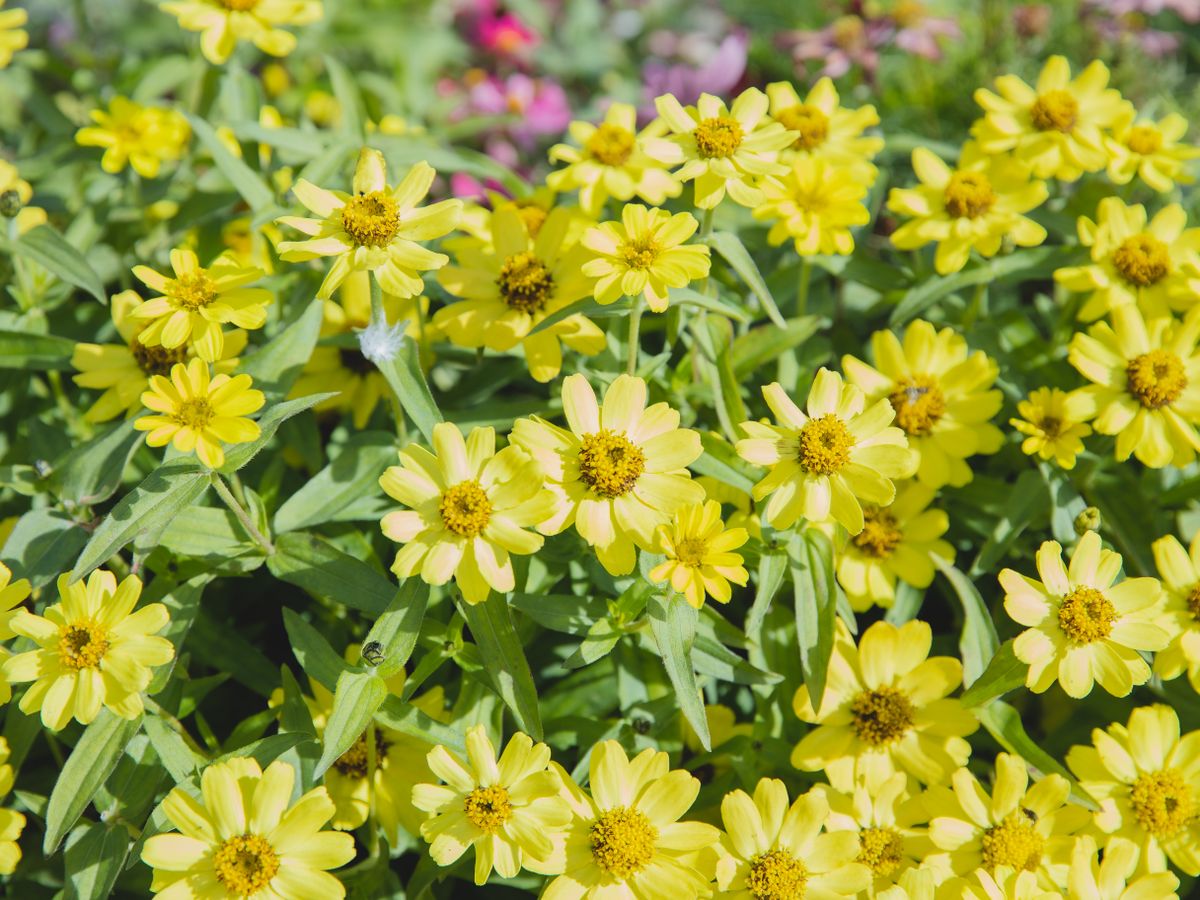
A single zinnia with a short stem looks just right in a jam jar. A broad arrangement takes several longer stems, and that changes how you use the garden. Give the plants enough room to dry after rain, start with a variety bred for cutting, and take the first usable stems before they turn to seed. You can get a surprising number of cuts from one modest bed. The aim is to keep enough foliage on each plant to continue growing while harvesting stems of a length you can actually use.
Choose the flowers for the vases you own
Check both the mature height and the type of bloom before buying seed. A compact landscape zinnia can cover the front of a bed with color and supply a few small posies. For a kitchen jug or wide vase, look for taller cutting strains. Compare the diameter of the flower head as well. A row of very large flowers can be harder to arrange than a mixture of small and medium heads. Single flowers with open centers are especially easy for insects to visit. Double flowers offer a different shape in the vase and sometimes have less accessible centers.
Pick a small set of colors for the first season so you can arrange a handful without sorting the whole row. One packet of mixed colors can work if variety matters more than a predictable palette. If you need a reliable set of colors for a particular arrangement, use separate packets and label the rows. Keep a few seeds back for a later sowing. A second group will be starting its strongest bloom as the early plants begin to show the effects of summer storms and leaf disease.
Choose a site that receives full sun and has good airflow. An enclosed space between a fence and a hedge may stay damp long after an open bed has dried. Check whether a lawn sprinkler reaches the site each evening. Zinnia foliage can be vulnerable to disease and it is easier to keep it dry when you can control where the water goes. In a narrow space, plant a single row that you can reach from one side without leaning across several plants.
Sow into warm soil and thin with a plan
Wait until frost danger has passed and the soil is warming. A warm season flower can still sit still in cold spring ground. Break up the surface and remove perennial weeds first. Sow the seeds at the depth on the packet, commonly about a quarter inch for zinnias, and water gently so they stay where you placed them. Put a visible label at each end of a short row. The bare soil between rows can look much like the seeded line until the seedlings appear.
Check the spacing advice for the mature variety before you thin. Larger cutting plants generally need more room than small edging types. A row packed shoulder to shoulder may grow thin stems, but the foliage dries slowly and is harder to inspect. An open row also makes it easier to follow a stem down to a useful pair of leaves. If you sowed several seeds close together, snip weaker extras at soil level once you can identify which plants to leave. Pulling them can disturb the roots of the plants you wanted.
For a head start in a short season, sow individual cells indoors a few weeks before planting out. Give seedlings bright light promptly after emergence and avoid keeping them in a tight cluster after leaves begin to touch. Introduce outdoor wind and light over a week or so before transplanting. Plants should be outside after danger of frost, with room for roots to grow and without breaking the plug apart. A second batch sown outdoors two or three weeks after the first can help spread out the harvest. Check the packet's days to bloom against your usual first autumn frost before using the last of the seed.
Shape the plants for stems you can cut
Young cutting zinnias can be pinched after they have made several pairs of true leaves. Cut the growing tip just above a pair of healthy leaves and leave enough foliage for the plant to grow. Side shoots from below the cut will develop into flowering stems. Pinching delays the first bloom and changes the branching pattern. Try it on half a row in your first year. The unpinched plants can provide early stems while the pinched group develops branches, and the comparison will tell you whether the extra step suits that particular variety.
Put support in early if your bed is windy or the strain grows tall. A horizontal layer of floral netting stretched between firm stakes can keep a whole row upright. Install it while plants are still low enough to guide through the openings. For a handful of plants, short stakes and soft ties may be enough. Position ties below a fork and leave room for stems to thicken. If heavy flower heads already lie on the ground after rain, lift one section at a time so you can see which stems are actually bent.
Water the root zone thoroughly when it begins to dry. A soaker hose or drip line is useful in a close row because you can wet the soil and keep the foliage relatively dry. If a hose with a gentle wand is all you have, aim under the leaves early in the day. Mulch lightly once seedlings have established, leaving a gap around their stems. Check below the mulch after a brief summer shower. A little rain can wet the leaves and leave the soil dry where the roots are working.
Harvest once the neck feels firm
Take a clean bucket of water and sharp snips to the bed in the cool part of the day. Hold a prospective stem a few inches below the head and wiggle it gently. A head that flops back and forth on a soft neck needs more time. When it moves more nearly as a unit with the stem, it is a better candidate for the vase. This quick check helps because a bloom can be beautifully colored before the stem under it is ready. Use it especially on the first few flowers of a new variety.
Look down the stem and make a cut above a healthy pair of leaves. Take enough length to arrange the flower while leaving growth points on the plant. If you repeatedly cut only the tiny branch immediately under each head, the next shoots can become thin and short. A deliberate deeper cut on a vigorous established plant encourages lower branching. Do not take every leafy stem from a young plant. Keep some foliage working while it adds the next set of buds.
Strip the leaves that would sit under the water line and put the stems straight into the bucket. At the work table, rinse the vase, trim the ends with clean tools and arrange the tallest stems first. Top up as needed and refresh the water when it becomes cloudy. Keep the flowers away from strong heat and direct sun. An arrangement made mostly of zinnias benefits from a clean vase and fresh water because any decaying foliage in the vase can shorten the time the stems remain upright.
After each harvest, pick up the lower leaves you stripped from the stems. Wet leaves lying around the bases make it harder to see the soil and reach the stems the next time you cut. A short open strip beside the row gives you a place to set the water bucket without brushing the foliage.
Keep cutting through damp weather
Inspect the older leaves low on the plant when you are already in the row with the snips. White powdery growth or expanding spots on the leaves often become more visible late in summer. Allow more space and use ground level watering where you can. Remove badly affected material when it is practical to do so. Avoid working through the bed while the plants are wet and clean your snips after cutting visibly diseased stems. If a plant is heavily affected and contributes little to the vase, clearing it can make the neighboring plants easier to reach.
Pick or deadhead regularly. A flower left past the useful cutting stage can be removed above healthy leaves to keep the plant producing. Leave some blooms for insects if the bed is producing more than you need. In a mixed garden, a few plants you reserve for flowers and a few you cut freely can coexist in the same row. If you hope to save seeds, let several heads mature and dry. Seedlings from hybrid varieties or from different plants that cross pollinated can vary from the original parent. Label them as a garden mixture unless you controlled how the seed was produced.
At the end of the season, record which varieties gave you long straight stems, which had blooms you actually used, and when the first plants started to decline. Use the dates to plan next year's sowing. A first planting, a later row to take over, and a few flowers left standing for insects are often enough to make the bed productive all summer without taking over the rest of the garden.
If a variety produced usable stems during the weeks you wanted them, circle it in your notes before you put the seed packets away. The colors that looked best on the packet may have been the ones you reached for least often at the cutting table.
Back to top