8 min read
Keep a Railing Planter Safe and Growing
A narrow planter can make a rail useful for flowers or herbs, provided the mounting, drainage, and root space work together.
On this page
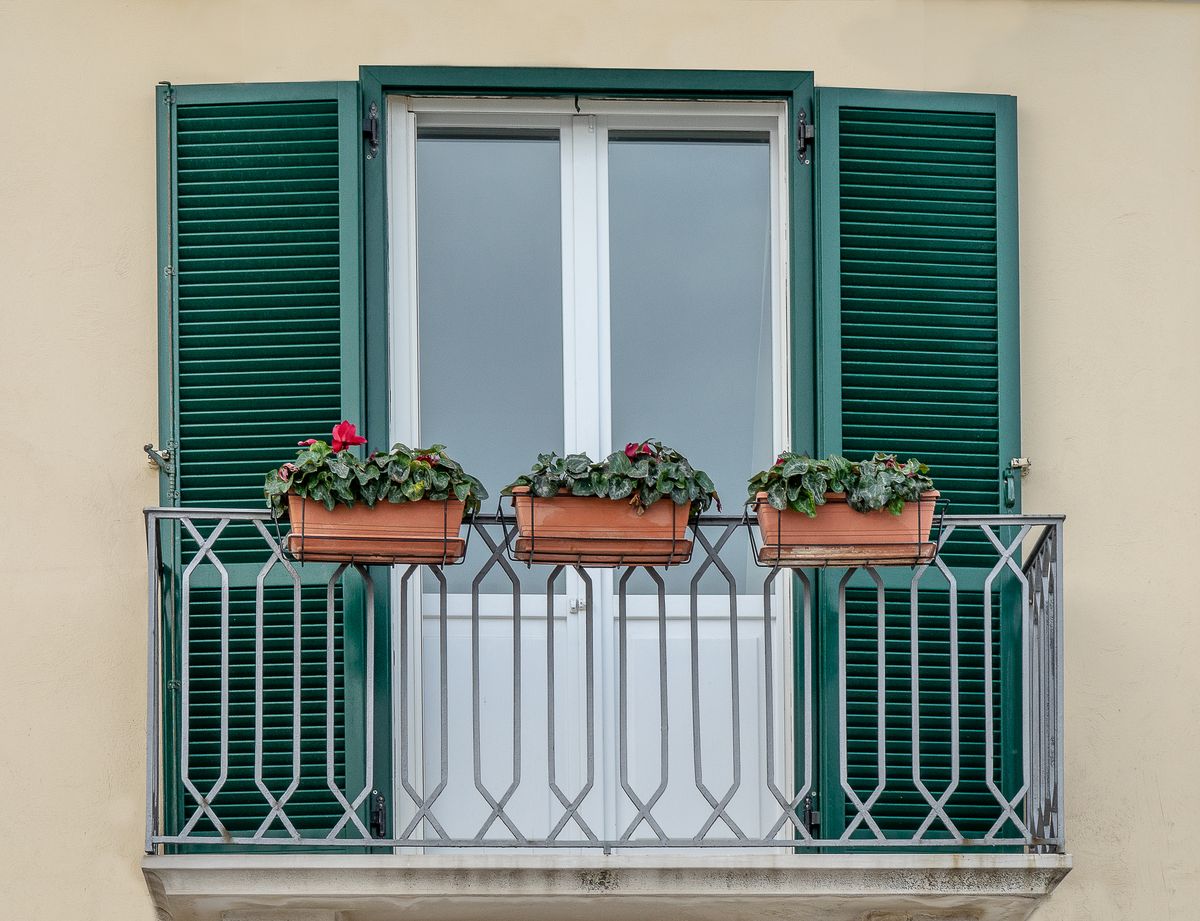
A long narrow box can make the smallest balcony feel like a garden. It can also be the first pot to dry on a hot day and the last thing you want to be adjusting in high wind. Treat it as a loaded fixture before you treat it as a flower bed. That order makes the rest of the choices simpler: you can choose plants for the amount of mix the box can safely hold, and you can water without sending a stream onto someone else's windowsill.
Decide whether the rail is a good place
Find out what your building or landlord permits. A rail may be designed as a guard, with no provision for supporting planters. Do not drill into, modify, or hang a load from it unless the arrangement is approved and appropriate for that rail. Keep all containers and fittings on the inward side. If you cannot confirm compatibility and load limits, use a stable freestanding trough just inside the rail instead. It will still catch much of the same light. It will also be much easier to bring under cover.
Measure the width, height, and shape of the proposed mounting surface rather than assuming all railings fit the same brackets. A round top, thin metal bar, and wide wood cap need different fittings. Only use a purpose made system rated for the location and for the weight of the filled wet planter, not just the empty box. Consider the weight of the container, wet mix, plants, and any stored water together. If instructions are unclear about the surface or attachment, choose another product or ask the building manager before filling it.
Check the space from the floor up. Keep escape paths, doors, drains, and access to the rail clear. Do not create an easy step up to the railing where children might climb. No protruding hooks or hanging tools should catch clothing. If you will have to lean over the rail to water or retrieve a tool, the arrangement needs to change. A position that looks simple from one side of the door may be awkward when you return with a full watering can.
Learn what a narrow root zone changes
A shallow trough warms and cools faster than a deep floor pot. It holds less water than its length suggests. That is useful for small annuals and herbs if you can check regularly, but it sets a limit on the plants you should expect it to support. Choose compact cultivars whose mature growth suits the usable depth and width. Keep a full sized tomato or tall stalk of sunflowers in an adequately sized stable pot on the floor. A heavy crop on a tall stem adds leverage when gusts cross a railing.
Read the plant's label, then look at its roots. A specimen already packed tight in a deep nursery pot may not fit the depth of the trough without being buried or severely disturbed. Choose small young plants that can root into the space, or direct sow small crops where the season allows. Leaf lettuce, parsley, compact flowers, and some small herbs can suit different troughs. Pick plants with similar light and moisture needs if they share one root zone. Dry loving thyme and a thirsty summer annual can be lovely next to each other in separate containers, but hard to keep equally happy in one box.
Leave enough space to water along the center. Full foliage at planting looks good for a week and makes it harder for air and water to reach the mix later. Check the stated mature spread and use fewer plants if the box is short. Some plantings work best with repeated single specimens and a little open mix between them. You can always add a small plant later once you know which part of the box stays empty.
Make runoff predictable
Choose a trough with drainage you can inspect. Some products use an integral reservoir with an overflow; others have ordinary drainage holes. Read the instructions before assembling the parts, and make sure rain can escape through the intended outlet. A reservoir is a useful buffer during dry spells when designed for the planter. It does not protect roots if the overflow is blocked. Never assume a solid decorative box can handle several days of heavy rain because you intend to water it sparingly.
Protect the surface below without leaving the root zone in standing water. An internal tray or shallow catchment may be suitable if you can safely empty it. Test drainage with a small amount of water before planting and inspect it after the first full watering. Keep runoff from dripping over the building edge. If the only way to catch it is to place an unsecured object on or outside the rail, use a freestanding planter with a proper saucer or integrated system. Your plant will grow just as well at floor level if it gets enough light.
Use container mix throughout rather than a bottom layer of gravel. Wet a handful before filling the box. It should hold together briefly and crumble rather than turn into a dense lump. Fill to a level that leaves some room below the rim, so a slow pour can soak into the mix. Set each root ball at about its former depth. After watering, look for channels along the wall of the box, especially when the mix was very dry. Use a second gentle pass a few minutes after the first to wet any parts the water skipped.
Learn both ends of the box
One end often dries faster. The corner beyond a wall may get wind all afternoon while the other end stays cool. Use a finger or narrow probe to check below the surface at both ends and in the middle. A damp spot near a single drip emitter does not prove the whole box is watered. If you rely on drip, make a short test run and compare the damp area around each emitter. Check again after the plants have grown and begun to shade the mix.
Put compatible plants in the best positions within the trough. A small flowering plant that needs more sun can sit toward the bright end if the other choices tolerate a little shade. A thirsty herb should not share a trough with plants that need to dry just because the far end is cooler. It is still one connected root zone, and the difference between the ends may disappear during rain. Separate pots in a secure freestanding rack can be a better way to give plants different soil conditions while creating the same continuous look.
Decide when to water by checking the mix and the weather, not by setting a fixed daily amount. Newly planted boxes have fewer roots and can stay wet longer; a mature box in wind may need attention every day during hot periods. Water slowly at the base and check the drainage. If leaves wilt while the roots are wet, allow time for the mix to drain and assess heat or root problems. Extra water at each sign of wilt can keep oxygen out of the roots.
Trim growth and inspect fittings together
Work on the box from the inside of the balcony. Use a tray on the floor or a small bucket for clippings so nothing goes over the edge. Remove spent blooms if it suits the plant, harvest herbs regularly, and cut back any stem that rubs against the rail or obstructs the path. Check what pruning does for the particular plant. Cutting a growing tip may encourage branching in basil, while cutting the flowering tip of some other annuals can delay the display you planted it for.
With each cleanup, look for loosened fasteners, damage to the box, rust on hardware, and standing water. Do an extra check after a storm and at the start of the season. Do not work at the rail during dangerous weather. If the planter has to come down, decide how to move it when it is empty and bring it to a safe location before adverse conditions arrive. If it is too heavy to move full, that is useful to know before you need to make the move quickly.
At the end of the season, remove dead plants and clear drainage openings. Clean and store removable hardware according to the manufacturer's instructions. Keep a note about the number of plants that fit, which end dried first, and how much time maintenance took. Next year that record may persuade you to plant fewer flowers, change the trough, or put the herbs at the floor instead. A good railing planter can be admired every day and cared for without a balancing act.
Run a short trial before planting the whole trough
If this is your first summer using the box, plant one end and leave the other open for a week or two. The open section gives you a good view of the mix after a storm and makes it possible to test a nozzle or emitter without damaging leaves. Note whether water ponds in one low corner. Before correcting a slope, empty the planter and follow the hardware instructions rather than wedging something under a loaded fixture. Once drainage is predictable and the first plants are putting out fresh growth, fill the remaining positions with crops that tolerate the conditions you observed. A small trial is also a chance to see whether the unplanted end is still needed to open a window or to set down a can.
Back to top