7 min read
Repotting a Monstera Without Losing Its Shape
Check the root ball, choose a container that fits it, and set up a climbing support while the pot is open.
On this page
A tall monstera rarely gives you a convenient afternoon to repot it. By the time its heaviest leaves are leaning over the aisle, there is often a tangle of aerial roots behind the sofa and a cachepot too tight to grip. A little preparation can make this job much easier. Find the direction the plant climbs, check that the roots actually need more room, and lay out a stable pot before you disturb the plant. You can then move the root ball and set the support in the same session.
Inspect the nursery pot before shopping
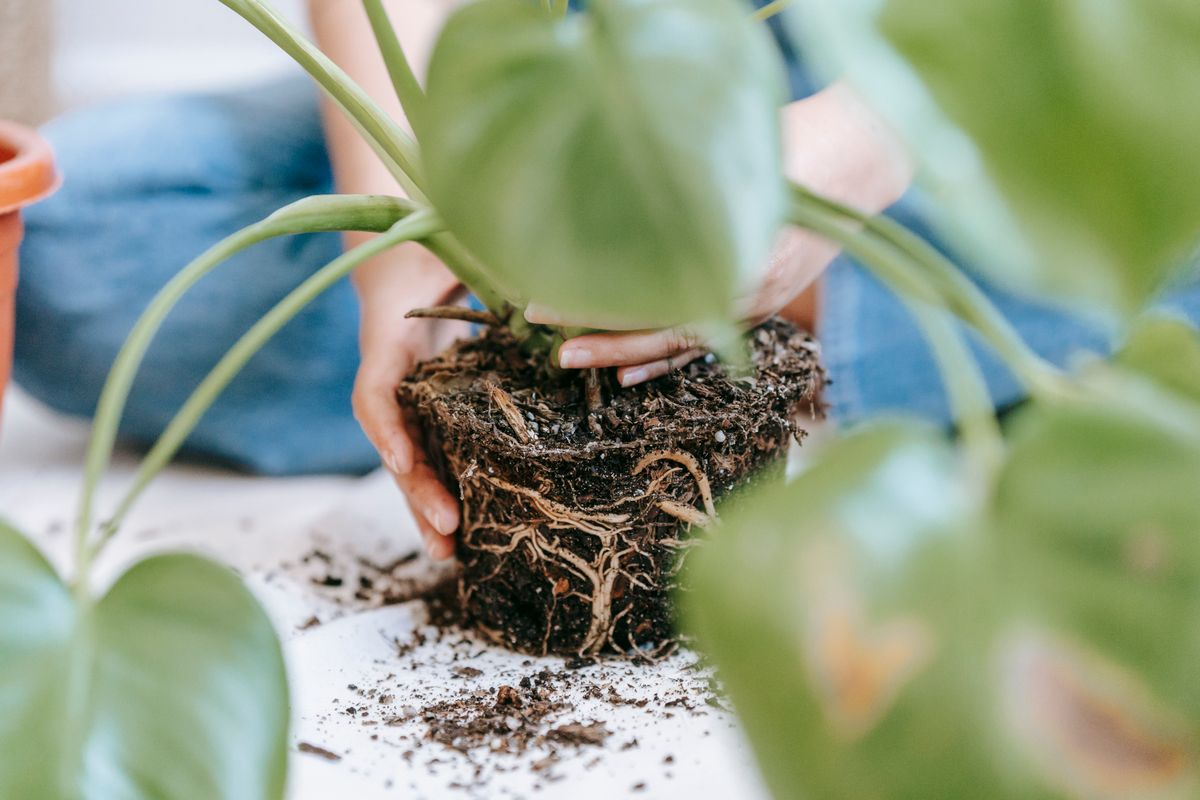
Lift a nursery pot out of its decorative cover if there is one. Check the drainage openings and slide the root ball out just far enough to see its side if it moves readily. A few roots poking through a hole are common, especially when the pot sits over damp runoff. A dense mat around most of the outer surface, combined with a plant that dries soon after thorough watering, makes a stronger case for repotting. Soil that has become compact and slow to take up water can also warrant fresh mix, even if the plant does not need a larger pot.
Water behavior deserves a close look. If water goes down the wall of the pot and exits almost immediately, the interior might still be dry. Try wetting it slowly in two or three passes and feel whether the root ball gets heavier. If it then holds moisture and the roots have space, move the light or adjust the watering before buying a larger pot. For a plant that stays wet for a long time and has a sour smell or soft stem, inspect the roots promptly. Increasing the pot size would give a damaged root system more wet mix to sit in.
Healthy roots are firm. They may be white, cream, tan, or stained brown by the medium. A rotting root is soft, sometimes hollow when pressed, and may shed its outer skin. Remove clearly decayed roots with cleaned scissors. A badly reduced root system may fit the old pot after it has been cleaned, or need a smaller one. Do this assessment before deciding how much fresh mix to prepare.
Get the next pot and support ready
For a healthy mature plant that has filled its container, look for a new pot about one to two inches wider in diameter. On a very large specimen, use the amount of new soil around the root ball as the guide. You want enough room for new roots while keeping the fresh mix close enough to the active roots that it can dry normally. The inside width matters more than the decorative rim. Measure the pot where the root ball will sit and check the width near the bottom on a tapered container.
Make sure water can escape freely. A removable plastic nursery pot in a sturdy outer container works well when you can still lift it for watering. Heavy glazed ceramic with a hole can stabilize a plant that would otherwise topple. On a large floor plant, a saucer with enough capacity to catch drainage is more useful than a pretty shallow dish. Keep a way to remove runoff without leaving the plant in standing water.
Prepare a mix that holds some moisture while still draining readily. You can combine houseplant mix with coarse perlite or pumice and small orchid bark. Test a handful after moistening it. The mix should break apart easily when you rub it between your fingers. A room that is cool and dim calls for more attention to drying and air space. A warm position where you check pots frequently can handle a mix that retains a little more moisture. Use clean materials intended for containers.
Choose a stake or a broad board long enough for more than the current height. A narrow bamboo stake can steady a young plant. A sturdy coir pole, moss pole, or wood plank gives a mature climbing stem more surface. Test whether the support will hit a wall or light fixture as the plant grows. If you choose a moss pole, decide whether you can maintain its moisture and protect the wall or floor beside it. A dry wooden support is easier to manage when your main goal is to hold the stem up.
Find the back of the plant
Follow a main stem from the soil toward its growing tip. The leaf blades often face the light, with their long petioles reaching away from the stem. Aerial roots usually emerge from the back or sides of the stem. This is where a climbing support belongs. If you put a pole in front of the leaves, the new growth may twist around it and the petioles can become trapped. Identify the backs of separate stems individually. Two plants that grew opposite ways in a single nursery pot may need separate supports.
Some aerial roots hang loose and can be guided into mix if they bend without force. Leave stiff roots in the position they have already taken. Aerial roots that cling to furniture or a wall should be freed gently before you move the pot. Wear gloves if sap irritates your skin and keep pruned pieces away from pets or children. Decide whether to separate stems only after you see the roots. A bundle of several rooted stems may divide with gentle teasing. If the roots are strongly tangled and the plants are all doing well, keeping the bundle intact avoids a much larger intervention.
Move the root ball with the stem supported
Lay an old sheet or tarp on the floor. For a big specimen, recruit someone to steady the foliage while you release the pot. Water a very dry root ball the day before so it holds together more readily. Remove outer ties or hardware that prevent you from sliding the pot free. Squeeze the walls of a flexible nursery pot or tap the outside of a hard one. Tip the plant sideways and support it near the stem base as you ease the pot away. If a root has grown through a hole, work it back gently where possible. Cutting the plastic pot can be less disruptive than tearing out several large roots.
Set a little fresh mix in the bottom of the new container and rest the root ball on it while you check the height. Keep the original soil line close to the new one and leave enough room at the top to water without washing mix over the rim. Place the support behind the climbing stem, anchoring it at the bottom or against the inner wall. It is easier to position it before backfilling, when you can see where the large roots lie. Add mix in a ring around the root ball, working it into the gaps with your fingertips. Settle it lightly and avoid pushing down hard against the roots.
Secure the main stem to the support with soft ties. A loose figure eight can hold the stem in place while leaving space for thickening. Place each tie where it will leave the petioles and growing tip free. Leaves need to shift toward the light, and an emerging leaf can be damaged if it must push through a tie. Once the pot is upright, press lightly against the top of the support. If it wobbles, secure it before carrying the plant back across the room.
If the room has a polished floor, place a waterproof mat beneath the saucer before the plant is heavy with water. Test your route from the work area first. A wide leaf can catch a doorway even when the pot passes easily, so carry the plant with its largest leaves facing forward.
Check both kinds of mix after the move
Water a healthy repotted plant slowly until the mix settles and water drains. If the roots were badly damaged and the new mix is already damp, use extra care to avoid saturation. Let the container finish draining, empty its tray and put the plant in familiar bright, indirect light. Give it time to adjust before placing it in a dramatically brighter window. Skip strong fertilizer until it is growing again, particularly if the bagged mix came with nutrients.
The center may hold water differently from the new mix around it. Check both with your finger or a wooden skewer before the next watering. When the outer ring feels dry and the original root ball is still damp, wait. If the center stayed dry after watering, use several slow passes to wet it evenly. A well set up plant should gradually return to a predictable pattern of drying. An older leaf can yellow after a move, but several declining leaves along with persistent wet mix call for another check of drainage and roots.
Leave the stakes and ties visible until you know that the plant is settled. After a few weeks, loosen any tie that has tightened and redirect flexible new aerial roots toward the support if you want them to attach. Dust a leaf with a damp cloth while supporting its underside. Then look at the plant from its usual viewing angle. If the new support holds the stem upright, the newest leaves have space to turn, and the pot can still be watered and drained, the repot has solved the practical problems that made the old container hard to live with.
Back to top