7 min read
How to Pot Spider Plant Offsets
Use an attached runner to establish a new plant, or separate a mature offset and root it in its own small container.
On this page
The little rosette dangling below a mature spider plant can spend its first weeks on a windowsill while still attached to its parent. That is useful when you have a pot with many offsets but only one or two worth starting today. Pick a rosette whose base you can see clearly, bring a small pot up to the runner and let the new roots establish before cutting the connection. If a friend brings you a detached offset, you can work with that too. Its size and condition will help you choose between soil and water.
Pick a rosette that can stand on its own
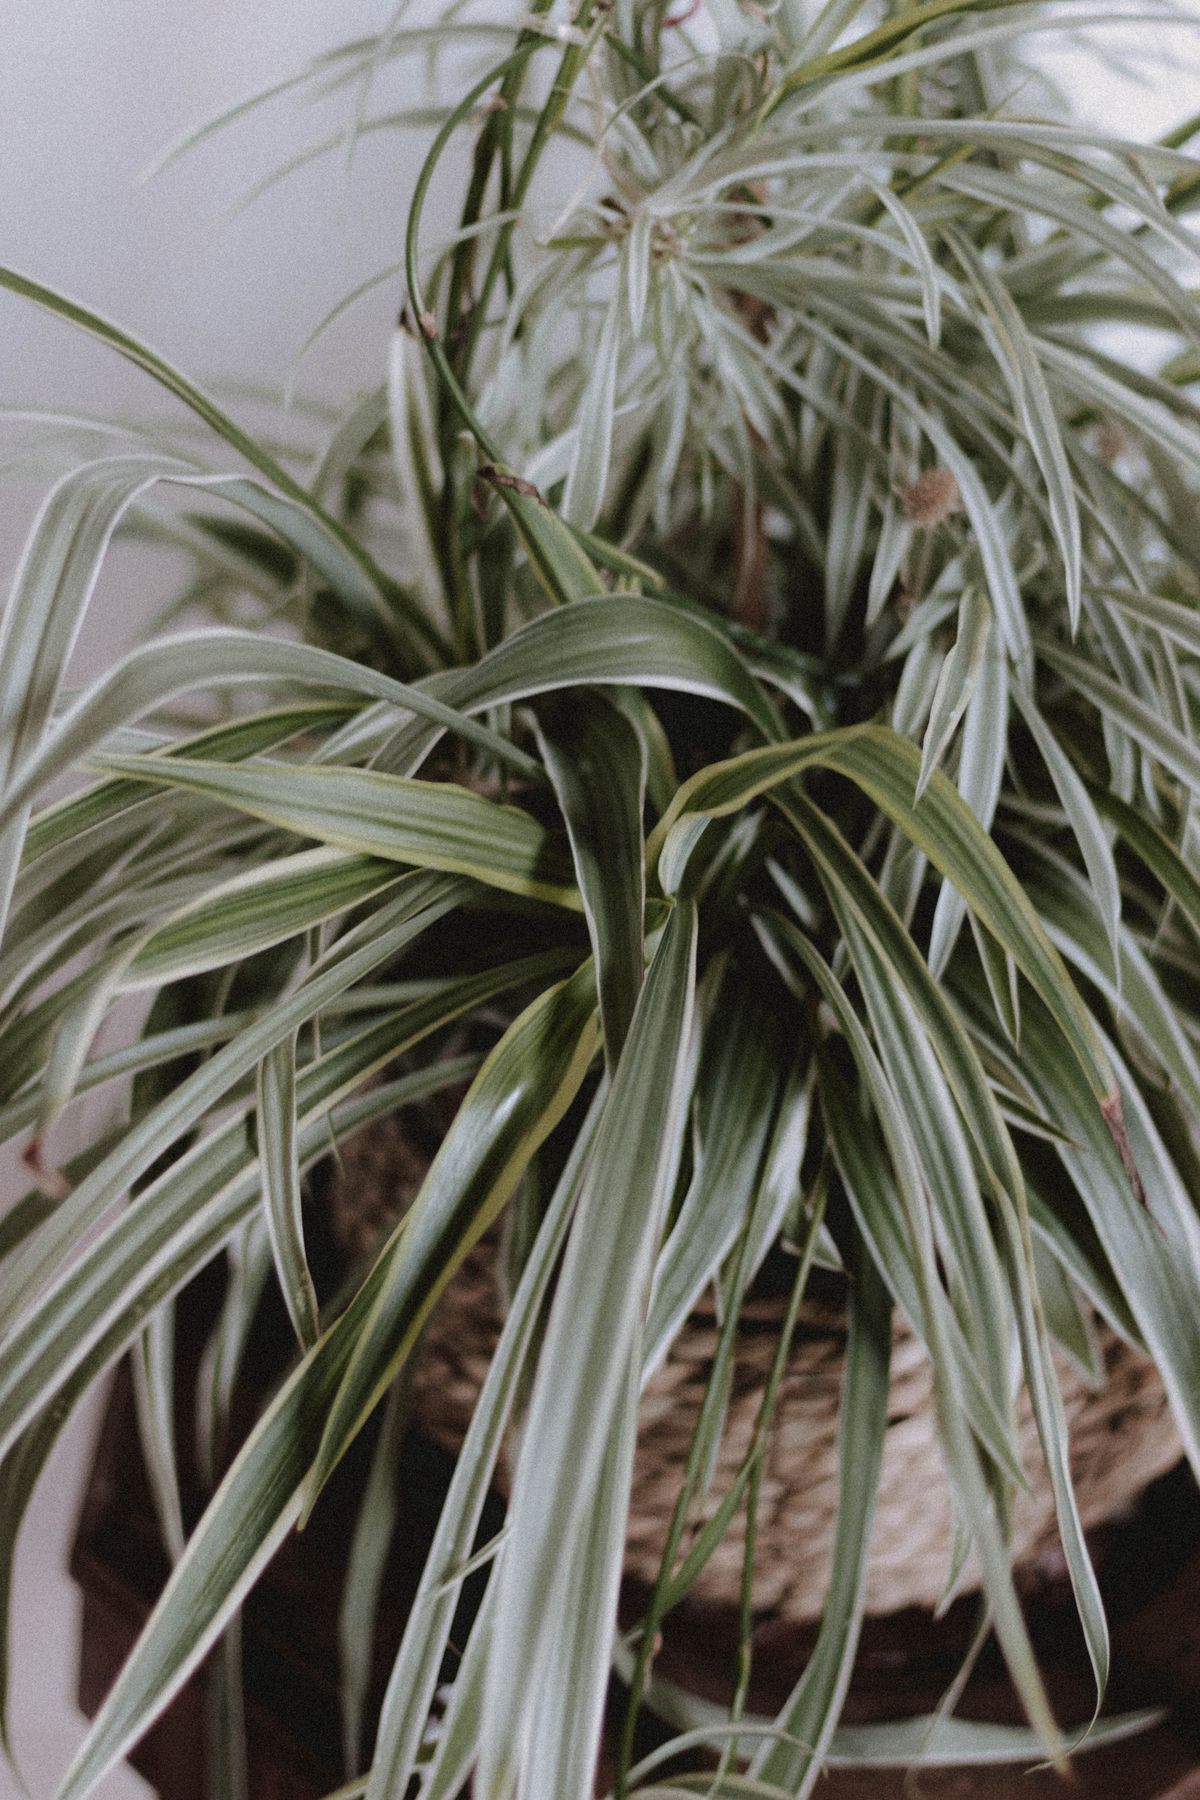
A mature spider plant sends out thin runners with small flowers and then rosettes along them. A rosette develops from its own central crown, with leaves spreading outward. Look under it for short tan or cream bumps at the base. These are early roots. A developed offset has enough leaves to handle gently and enough base to sit over the potting mix without falling through it. A brand new rosette with only a few small leaves will have an easier start if it remains attached longer.
Offsets often form at different stages on the same runner. The one at the tip is easy to reach, but the strongest might be closer to the parent. If the runner carries multiple rosettes that you want to keep, trace it back to the main plant before taking scissors to it. You can pot several of them while they remain connected. Put the parent and all of the little pots on the same level first so moving one does not pull the rest out of place.
Check the underside of the selected leaves and the point where they meet the base. Sticky residue, fine webbing or cottony material can indicate insects. Set questionable material apart and address the infestation on the parent before spreading its offsets around the room. A few dry brown tips on an otherwise sturdy rosette are less concerning. Choose a solid crown and undamaged roots before judging the condition by the tips alone.
Root an offset while the runner still feeds it
Fill a small pot with fresh houseplant mix loosened with a little perlite if it feels dense. Pick a pot with a drainage hole and a diameter that supports the whole rosette without burying the leaves. A three inch nursery pot is sufficient for many offsets. Dampen the mix until it feels evenly moist and will crumble when pressed between your fingers. Make a shallow depression just large enough for the root bumps.
Set the little pot beside the parent and adjust its height to reach the runner without pulling the line taut. For a hanging parent, set it on a table during this stage or use a stable stand to bring the small pot up to the rosette. Gently rest the rosette on the soil. Its base should touch the mix, with the leaves and growing center above it. If it springs back up, pin the runner to the mix with a bent piece of wire or use two small pebbles to hold the runner beside the plantlet. Leave the crown free.
Water just enough to settle the mix if it has dried during setup. Place both plants where they receive bright indirect light and where you can reach the smaller pot to check it. A tiny pot can dry much faster than the parent's full container. Check the edge by touch and add water when it starts to dry. Wait for roots to grip the mix or for a little new growth to emerge from the center. If the base still lifts easily with a very gentle test, give it more time.
When the rosette holds itself, cut the runner with clean scissors. Leave a short piece on the new plant if trimming closer risks cutting a leaf. The dry stub can be shortened once it is easy to see. After separation, keep the new pot in similar light for several days. If you plan to give it away, let it establish fully first. A firm plant with a new leaf at the center is easier to transport and easier for a beginner to water.
Start a separated offset in a small pot
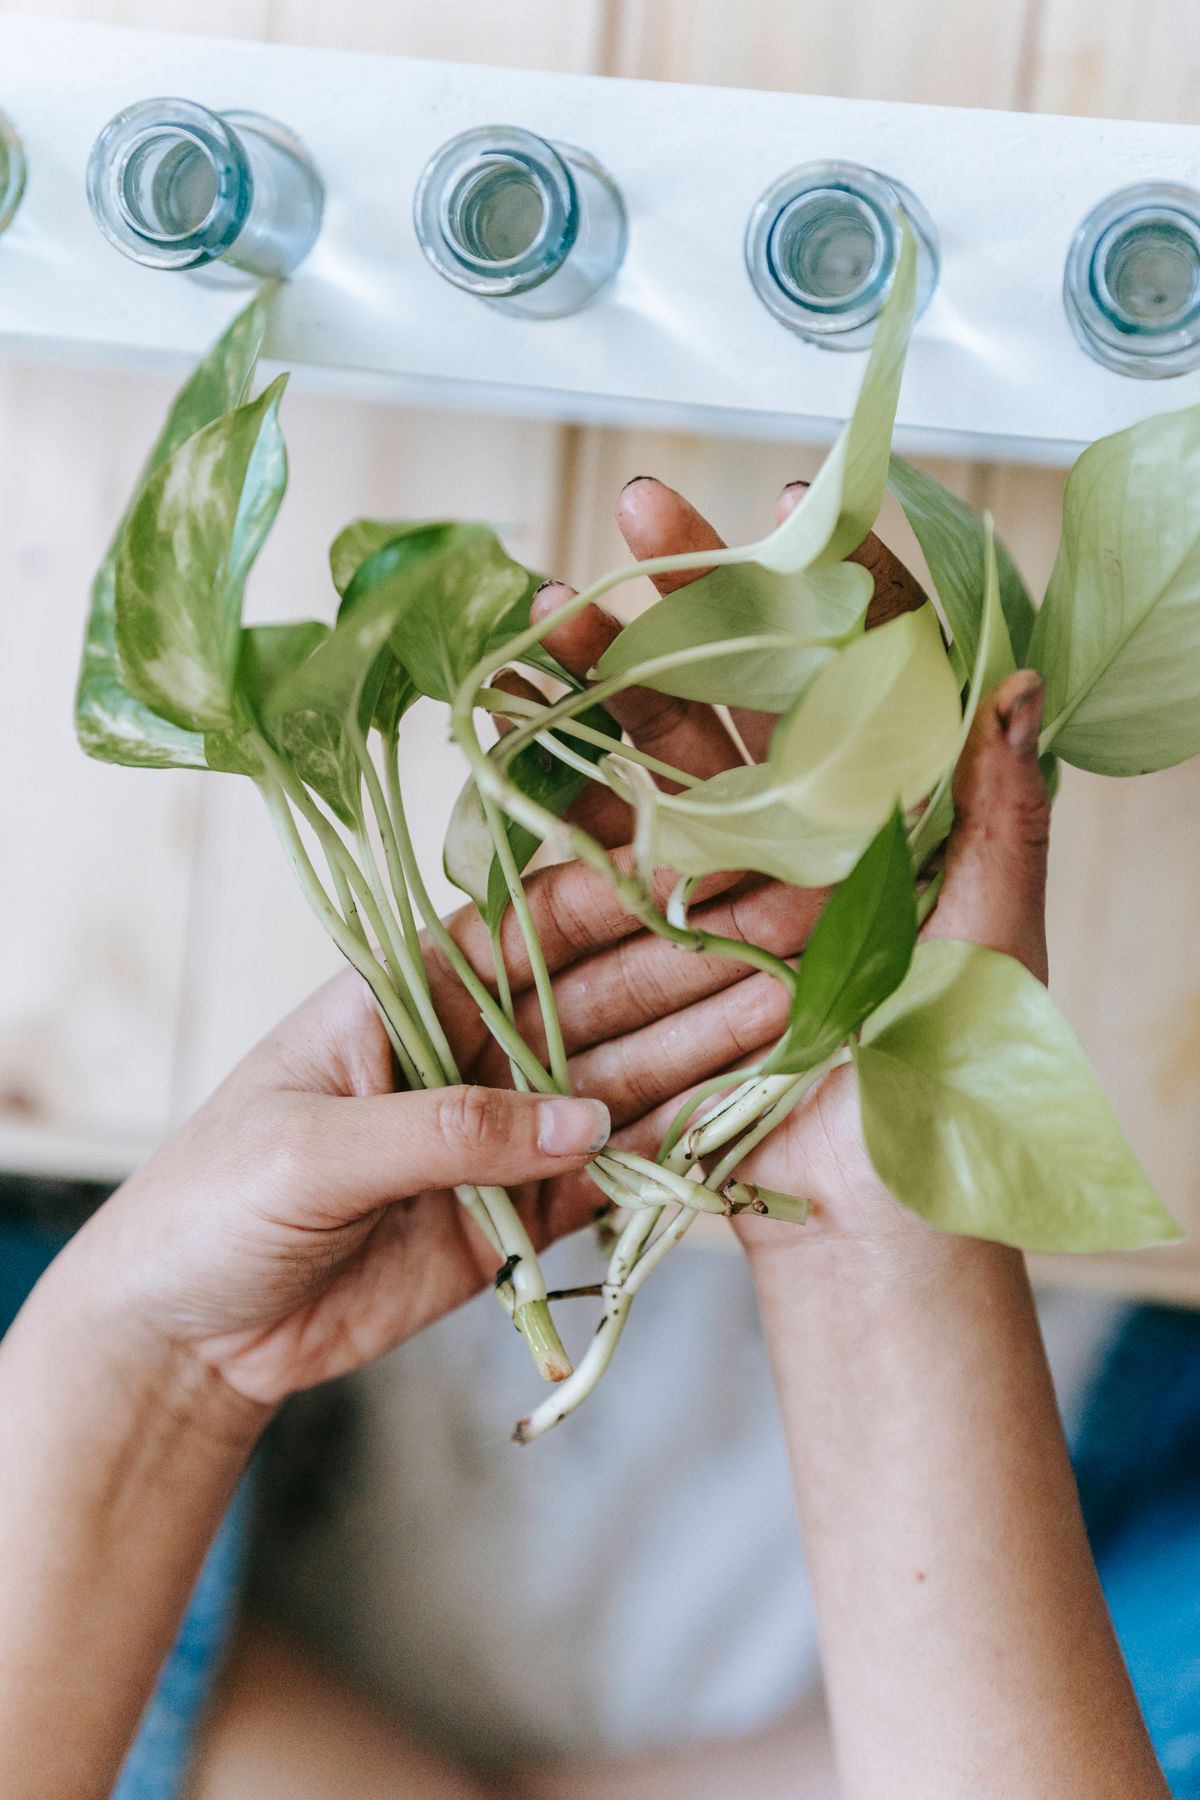
A separated plantlet with roots already beginning is often ready to pot immediately. Take off any torn runner tissue that will get in the way. Make a shallow hole and spread the little roots over the bottom. Draw potting mix around the roots until the rosette sits upright at the surface. The leaf bases need room to breathe. A plant buried so deeply that loose mix collects among its leaves can be lifted gently and reset.
Support a particularly top heavy plant with a temporary stake or rest the outer leaves over the rim. Give the pot a gentle watering and allow runoff to drain. Put it in a bright room outside strong direct sun. Until the roots expand, the pot should stay lightly moist. A newly detached rosette may look a little limp for a day or two. Watch the center for firmness and avoid repeating the first full watering if the soil is still damp.
If the offset came with no roots and you want to see progress, suspend it over a clean, shallow glass with the very bottom of the rosette touching the water. Use a narrow rim or a piece of clean mesh to keep the leaves dry. Replace the water whenever it becomes cloudy, and rinse the glass before refilling it. As roots lengthen, lower the water level a little so only the roots sit in it. Once several roots are long enough to spread in mix, pot the rosette as above. Keep the mix lightly moist for its initial adjustment.
Solve the problems that show up in the first pot
If the plantlet seems loose and the base feels dry, check that the root nubs touch the mix. A shallow depression and a little support usually fix it. If the crown feels soft and pulls apart, discard the failed offset and clean the pot before starting again. Several failures in the same setup can point to an overly damp medium, a buried crown or a cold location. Use a smaller pot and keep the mix gently aerated while you check the next batch.
Brown leaf tips often appear as plants adjust to changes in water and humidity. The tips can also brown when fertilizer salts build up. Check the mix and the base before concluding that the plant needs more water. An offset kept continually wet may develop discolored leaves even while its roots are drowning. When a rooted plant's soil is due for water, allow a little plain water to drain through and throw out the runoff. This helps rinse out accumulated salts. If your tap water has a high mineral content or has been softened with sodium, try rainwater from a clean source or distilled water for a few cycles and compare the new growth. The old dry tips will stay brown.
A pale patch running across several leaves on the same side usually gives you a clue about where the pot was set. Check whether the afternoon sun passed straight through the window onto that spot. Move the pot a few inches back or add a sheer curtain. A plant that is receiving very little light tends to produce weaker new leaves over time. Watch what develops at the center after the change rather than expecting the old outer leaves to look different.
Write the separation date on a label if you are starting several plants over the season. A pot that was detached yesterday can look much like an established one on the shelf. Knowing the date makes it easier to remember which one still needs an extra moisture check.
Give the young plant a place to fill
A fresh offset can grow into a fountain of leaves in one pot. You can also plant two or three of similar size together if you want a wider display. Keep each crown at the surface and allow room between them. A shared pot will be harder to divide after thick roots fill it. Starting individual nursery pots and setting them side by side in a wide decorative container gives you the same visual effect while you learn how quickly each plant grows.
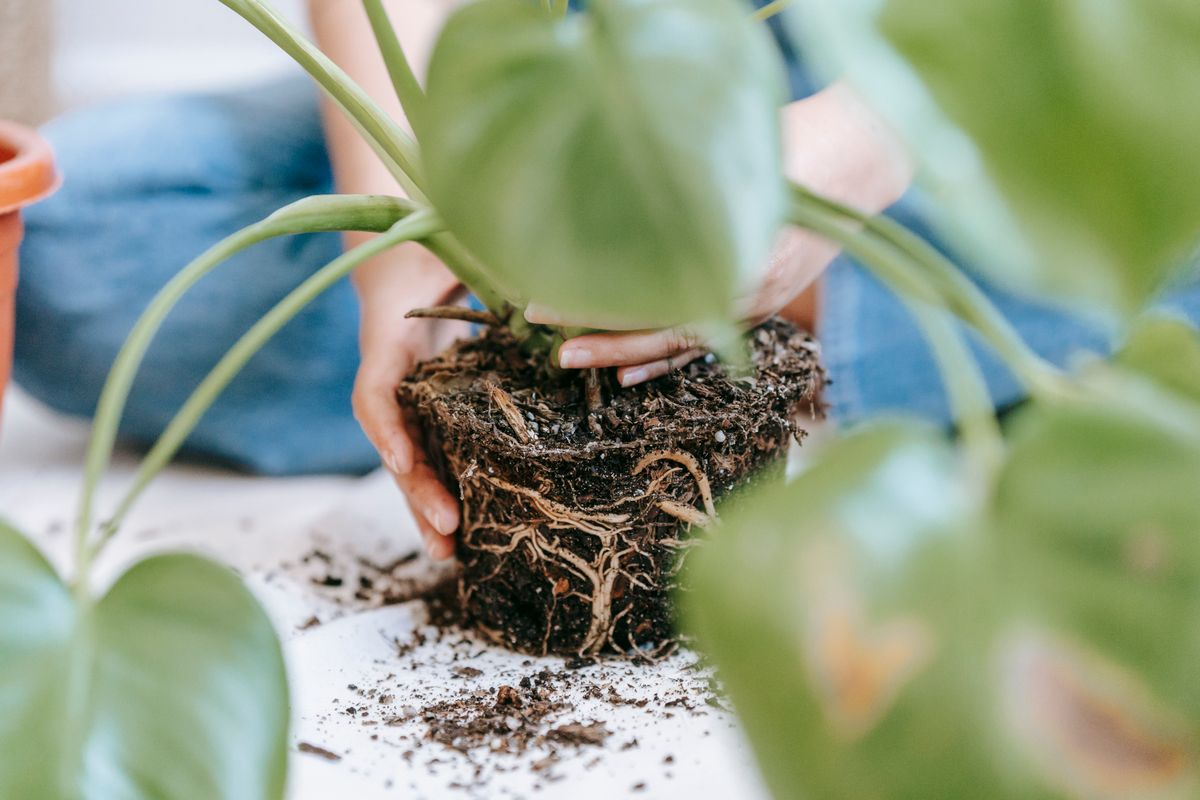
Once roots fill the first pot and the plant dries fast after watering, choose a slightly wider container. Keep the outer leaves free when you fill around the root ball. Spider plant roots store water, so an established plant can tolerate the mix drying partially. Water thoroughly when appropriate and empty the saucer. The small offset that needed frequent checks during its first weeks may settle into a much longer interval after repotting. Recheck the actual moisture each time you change pots.
Fertilize lightly during active growth, following the directions on a houseplant feed. Give a young plant enough light to build its own crown before expecting runners. Some mature plants produce them readily as the days shorten, and timing varies with the cultivar and the conditions in your room. A hanging basket can provide room for the runners when they finally emerge. Make sure the plant remains reachable and the pot can drain outside its cover. Then leave the healthiest rosettes on the runner until they reach the stage that made the first one easy to start.
Back to top