7 min read
Caring for a ZZ Plant Through the Seasons
Read the rhizomes, pot and new stems before deciding whether a ZZ plant needs water, more light, or a bigger container.
On this page
There may be a whole winter when a ZZ plant does little that you can see. Then a pointed shoot rises from the mix and unfolds into a new row of glossy leaflets. The plant was storing resources and keeping its existing foliage through the quieter months. That slow pace suits an indoor room, provided the container does not stay wet while the plant is barely using water. Read the condition of the pot and the base of each stem before treating a slow plant as a sick one.
Look at the structure of the clump
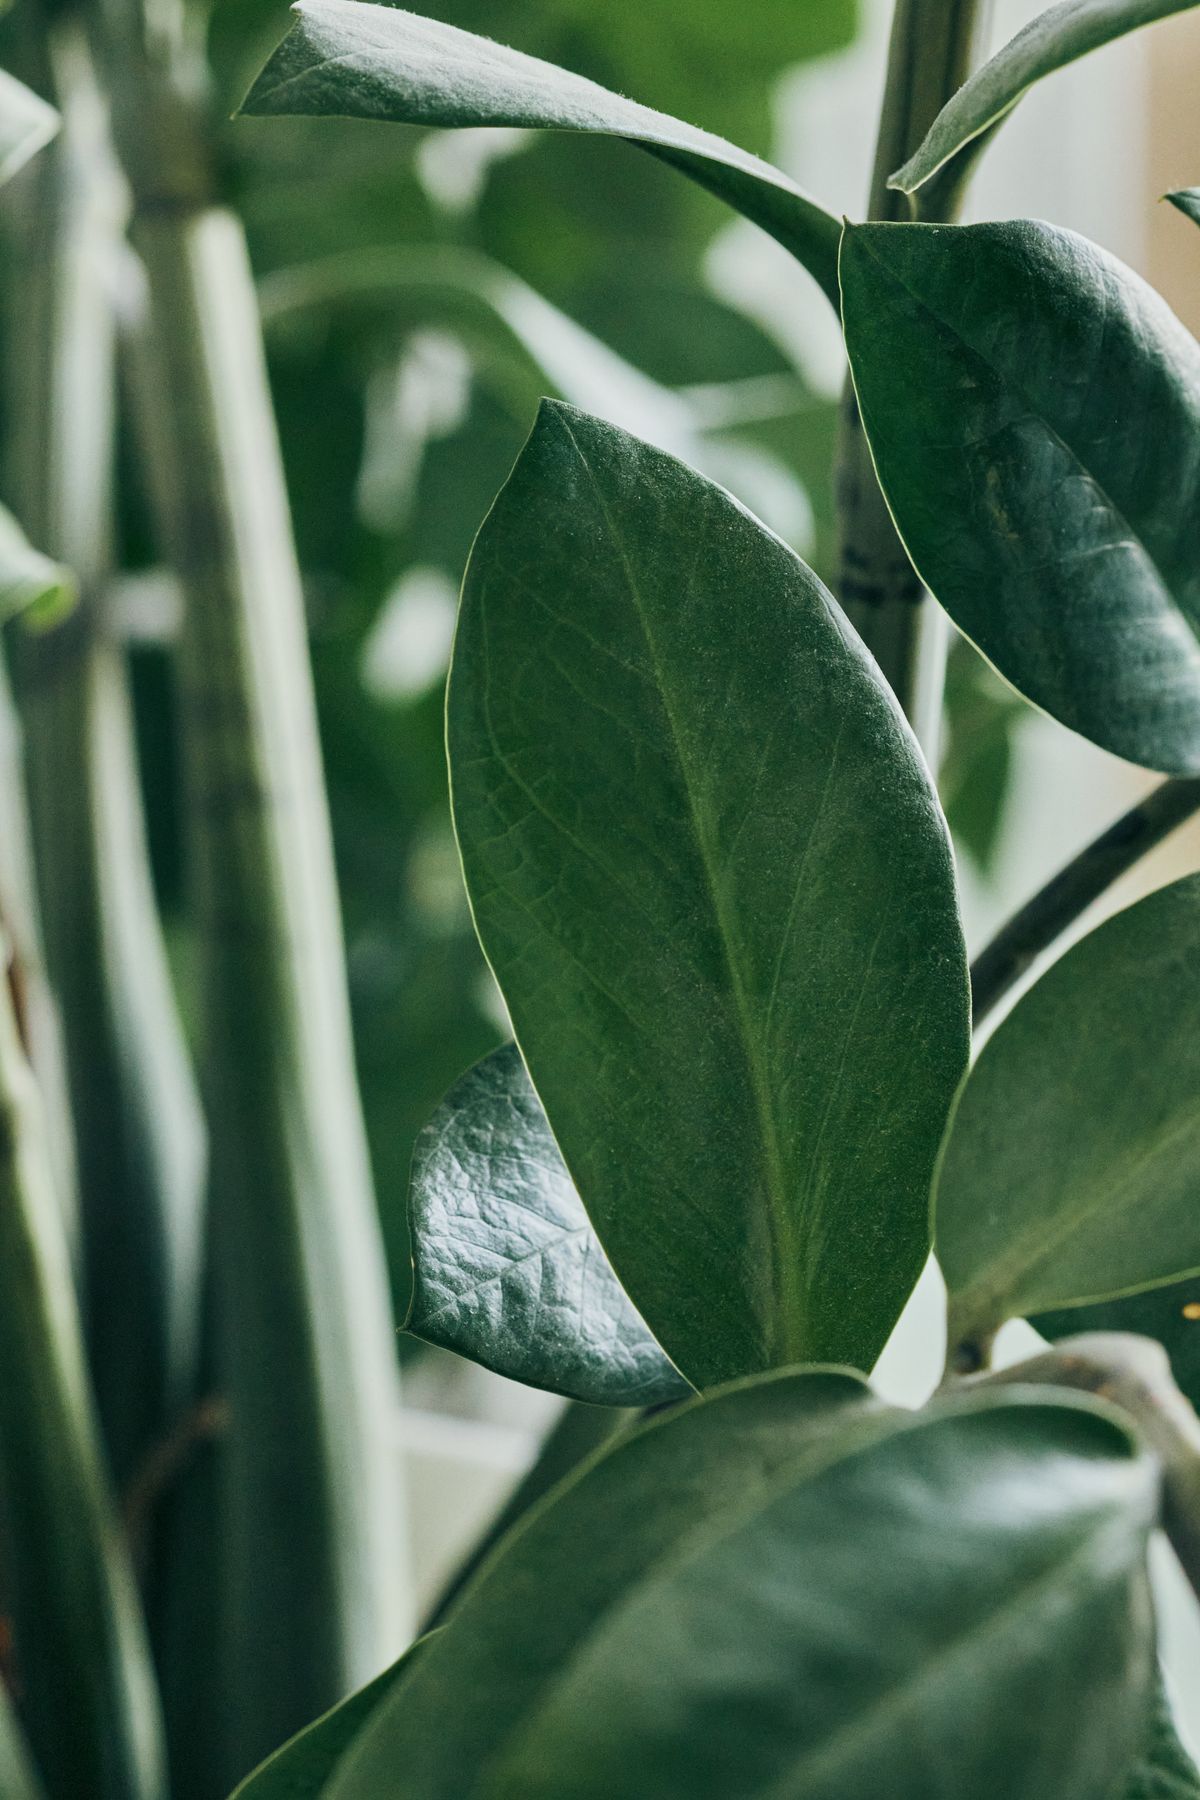
Zamioculcas zamiifolia produces thick underground rhizomes with roots coming off them. These store moisture and are one reason the plant can tolerate periods of dryness. Above the mix, each long upright structure carries a row of leaflets. Look closely where it emerges from the pot, especially if the clump has many years of growth. There may be new pointed shoots hidden between broad older ones. Give those emerging points room and leave them alone while they are pale and soft. They darken as they mature.
A healthy plant normally stands firm where the leaves meet the mix. If one older leaf fades while other growth remains sound, remove it near the base after it has declined. Several yellowing leaves at once call for a look at the roots and light. Inspect the mix for an odor or for a wet line around the drainage hole. Check whether the plant was exposed to cold during a recent trip from the shop. Similar changes above ground can come from different causes. The state of the soil and the timing of the decline help you narrow them down.
Choose a spot where you can see the pot without lifting the whole clump. A ZZ can grow into a broad arch of leaves, even if it started as a few upright shoots. Keep it back from a narrow walkway where a bag or coat can catch the leaflets. That also gives you space to rotate a young pot as the next leaves find the light. A mature specimen can face the window and still look good from the room if it has space for those long leaves to spread.
Give a low light survivor a brighter position
ZZ plants can persist in fairly dim rooms. In brighter indirect light they have more opportunity to make new growth. Try a place near a window where daylight reaches the plant but hot midday or afternoon sun does not sit on the leaflets for hours. The window direction alone gives limited information. A neighboring wall can shade an otherwise bright exposure. Take a look on a clear day, then see how far the light reaches in cloudy weather.
If the plant has spent months in a dark hallway, increase light gradually. An exposed side may scorch if you move directly into a strong beam. Move it several inches at a time or use a sheer curtain. You can also move it to a brighter table for the growing season and return it when the new growth has hardened. Judge the result by the sturdiness and placement of later leaves. Existing leaf stalks that have leaned toward the light generally keep much of their original shape.
A long gap between new leaves is common for a plant that grows in flushes. Check whether older growth still looks firm and whether the soil dries normally. Give it time if both are steady. When several months pass in growing weather and there is no new leaf, assess the room's light and warmth before fertilizing. Plants need light to use the nutrients they receive. If the plant's final position is far from daylight, a suitable lamp can supply light during daytime hours without moving the pot. Make sure a new shoot cannot grow close enough to touch the fixture.
Let the pot dry deeply between waterings
Use the moisture in the lower mix as your main cue. In a small container, pick it up and remember what it weighs when it has dried. In a larger container, slide a thin wooden skewer toward the lower part of the pot along an open section near the edge. Give it time to pick up moisture and remove it. A damp or darkened skewer means there is still water in the mix. If it comes out dry and clean in more than one spot, the pot may be ready. Avoid driving it through a crowded rhizome.
Water at the surface until runoff appears, let it drain, and empty the cover or tray. If the pot was very dry and water first ran down a gap at the edge, pause and water again slowly. A soil ball that has taken up water feels heavier. Pay attention to the drainage if you keep the plant on furniture. Use a deep enough saucer or take the nursery pot to the sink before watering. ZZ plants can cope with the mix being dry for a while, so if you are unsure, return a few days later for another check.
Conditions change when the heating season starts or the plant moves from plastic to terracotta. Winter light can be weaker and the plant may grow slowly even though the room is warm. An unglazed clay container releases moisture through its walls, which can shorten the drying time. A pot inside a tight glazed cover may dry more slowly. Count the interval only to decide when to look again. One plant beside a bright warm window can need water while an identical pot in the hall is still damp from the previous round.
A decorative top dressing makes the change in surface color harder to see. If you keep one, leave a small open patch near the edge to test the soil. On a crowded pot, use a patch away from the emerging shoots so you can check it without disturbing them.
Decide whether crowding actually needs a larger pot
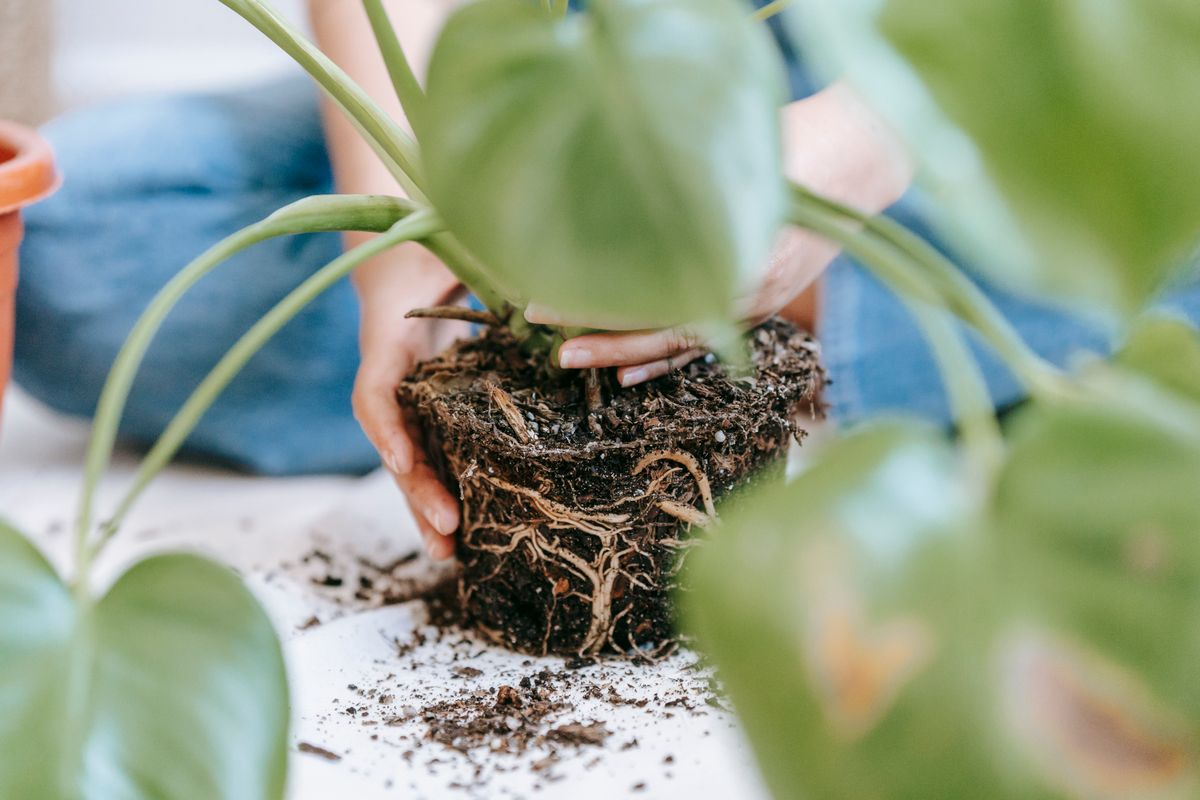
It is normal to see rhizomes close to the top of the mix. Do a full inspection if the pot has become misshapen, if the rhizomes are forcing it apart, or if there is very little mix left between roots. Tip the plant sideways and support the clump while you ease off the pot. If it is tightly wedged in a flexible nursery pot, cutting the container may spare the roots. Set up the next pot before you start so the clump is not sitting out while you shop or mix soil.
Choose a pot only slightly wider than the root ball and make sure it has open drainage holes. Use a mix that drains freely, such as a well aerated houseplant mix with a coarse mineral component. The container should keep the plant steady without enclosing a lot of extra damp material. Set the clump at its previous depth and fill around it, leaving room at the top for watering. If you are correcting rot, a smaller container may fit the viable roots better. Firm roots and rhizomes can remain. Soft foul smelling tissue should be removed with a clean blade.
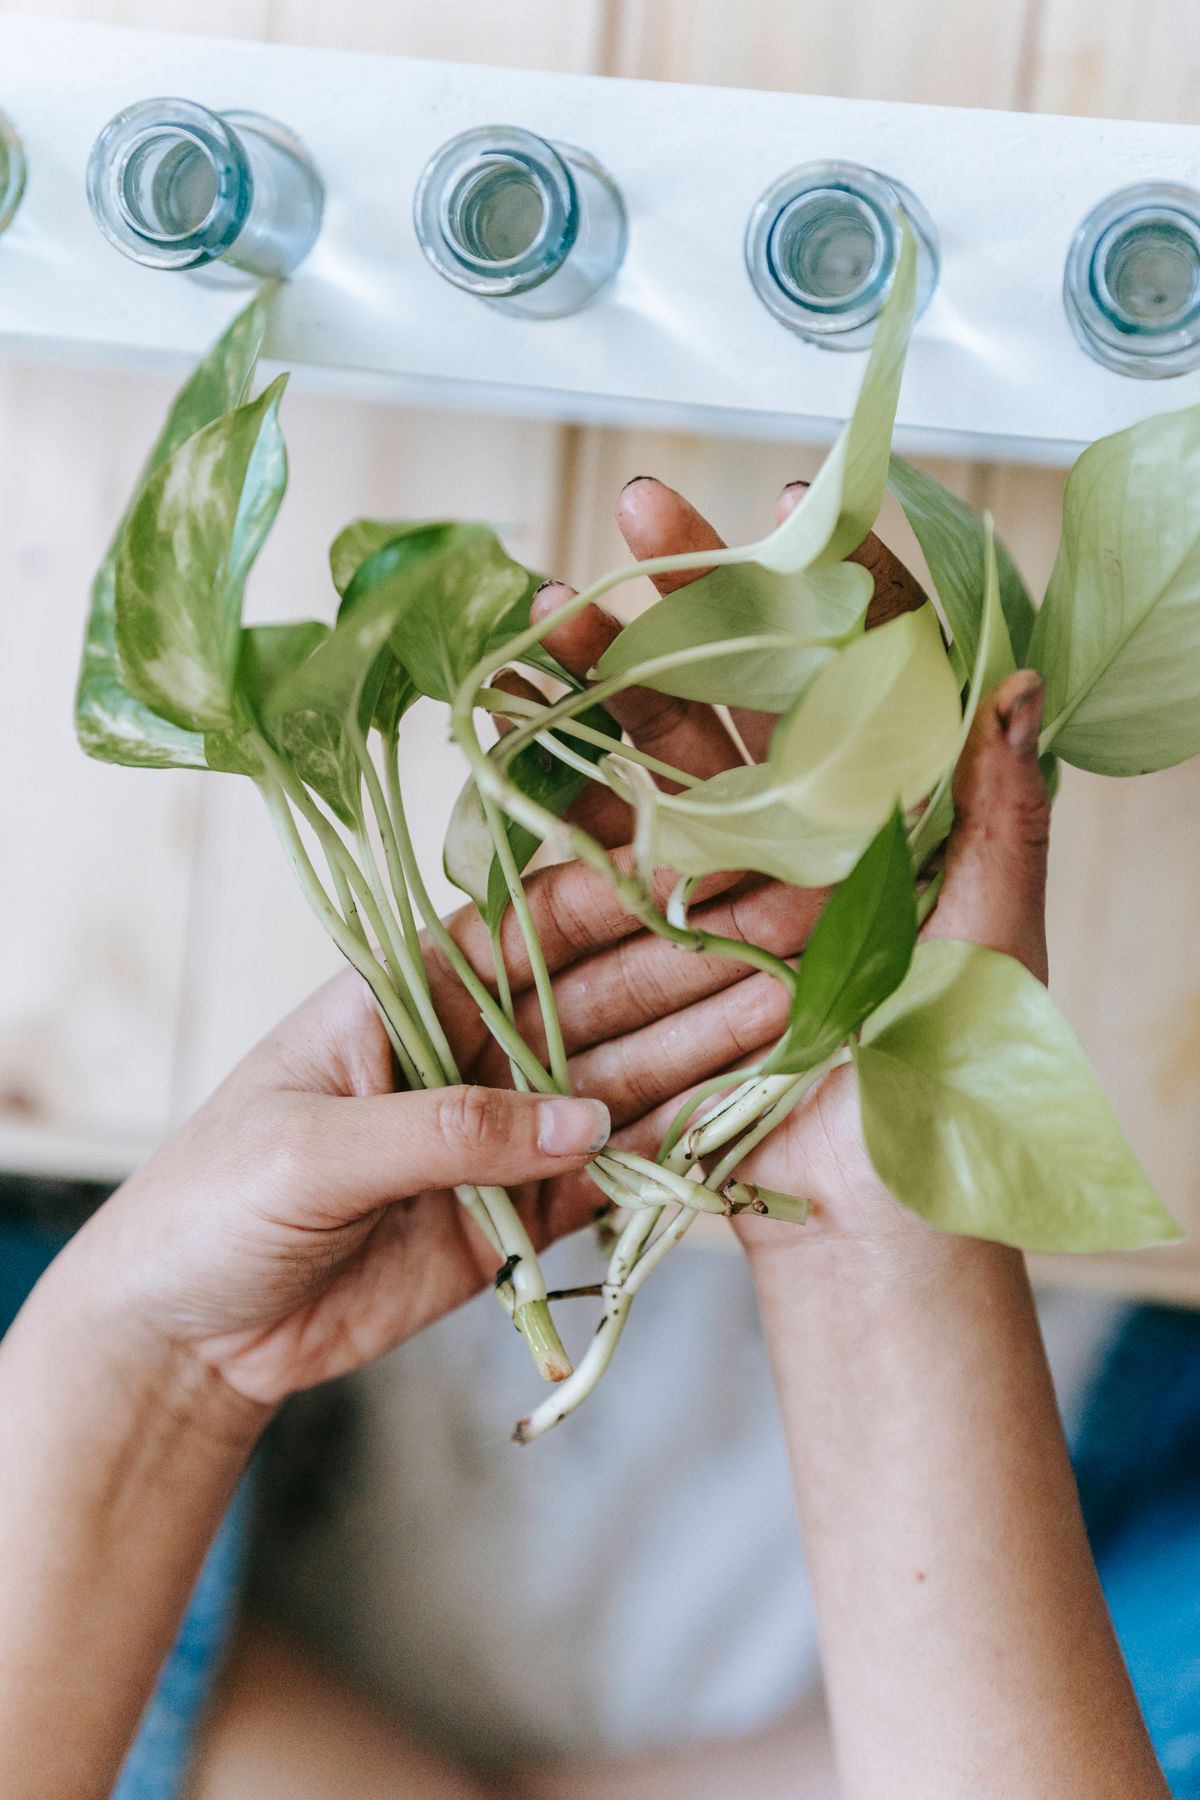
If you want a second plant, look for a separate group of leaves with its own rhizome and roots. Ease it away where the clumps naturally part. A division with working roots is easier to establish than a bare piece of rhizome. Set it in a pot suited to its size and keep the first few checks close together while it settles. Plants can also grow from leaflets, but that process is slow and the new plant may spend a long time forming a rhizome before you see a shoot. Keep trimmings out of reach of children and pets. The plant contains irritating calcium oxalate crystals.
Check a yellowing plant before changing its routine
Feel the lowest part of the mix. If it is wet and several leaf bases are soft, unpot the clump and check its rhizomes. Trim off clearly rotten portions, clean the pot and replace saturated mix. Give the surviving portion some stability in a smaller well drained container and make sure the new medium can dry. Put it in steady bright indirect light and allow time for active growth to resume. If the dry pot is light and the leaves are wrinkling while their bases remain firm, water thoroughly and assess how it responds over the next several days.
Look along the underside of leaflets when you dust the plant. Use a soft cloth and support each section of the leaf while wiping it. Sticky deposits or small raised insects can be signs of pests. Isolate a plant showing active insects and check neighboring plants. Old marks that remain in the same place after a move are easier to interpret when you can compare them with clean new leaflets. Take a photo after setting up the pot and look again when the next pointed shoot opens.
A small amount of fertilizer while the plant is growing can be enough. Follow the product directions and consider whether the fresh mix already contains fertilizer. Apply it during a watering the plant needs. In a slow winter, the useful work is keeping the pot clear of standing water and giving the leaves a comfortable position. When the days brighten, the next flush can arrive without another round of repotting or feeding.
Back to top