7 min read
Dividing Daylilies That Have Filled the Bed
Lift an overgrown daylily clump, find the individual fans, and replant enough roots to establish each division.
On this page
A broad daylily clump can grow for years without much attention. It might flower well at the outside while the center gradually fills with crowded leaves and old growth. In a narrow bed, the outer fans may also spread past the place you intended them to occupy. Division gives you a chance to move the edge, renew the planting and share a few useful pieces. Give yourself a little time to prepare the new holes before digging. A clump with wet soil and heavy roots can take longer to sort than its soft looking leaves suggest.
Decide how much of the clump to lift
A daylily grows in fans, with leaves emerging from a crown just above the thick roots. In spring or after flowering, follow a few of the leaves down and find where they form separate groups. A mature clump can contain dozens of them. You can remove a wedge at the edge when the main clump is flowering well and you only need a few plants. Lifting the whole clump makes sense when you want to rebuild a bed, remove a struggling center, or move the cultivar to a new position.
Look at the rest of the growing conditions before blaming a lack of flowers on crowding. A clump shaded by a shrub that has doubled in size may need a sunnier position. A thick layer of new mulch could have covered the crowns. Compare the outer fans with those in the middle and check whether the whole clump is declining. Daylilies can produce well for a long time when they have enough light, suitable drainage and room. Divide because the plant or the bed gives you a reason to do it.
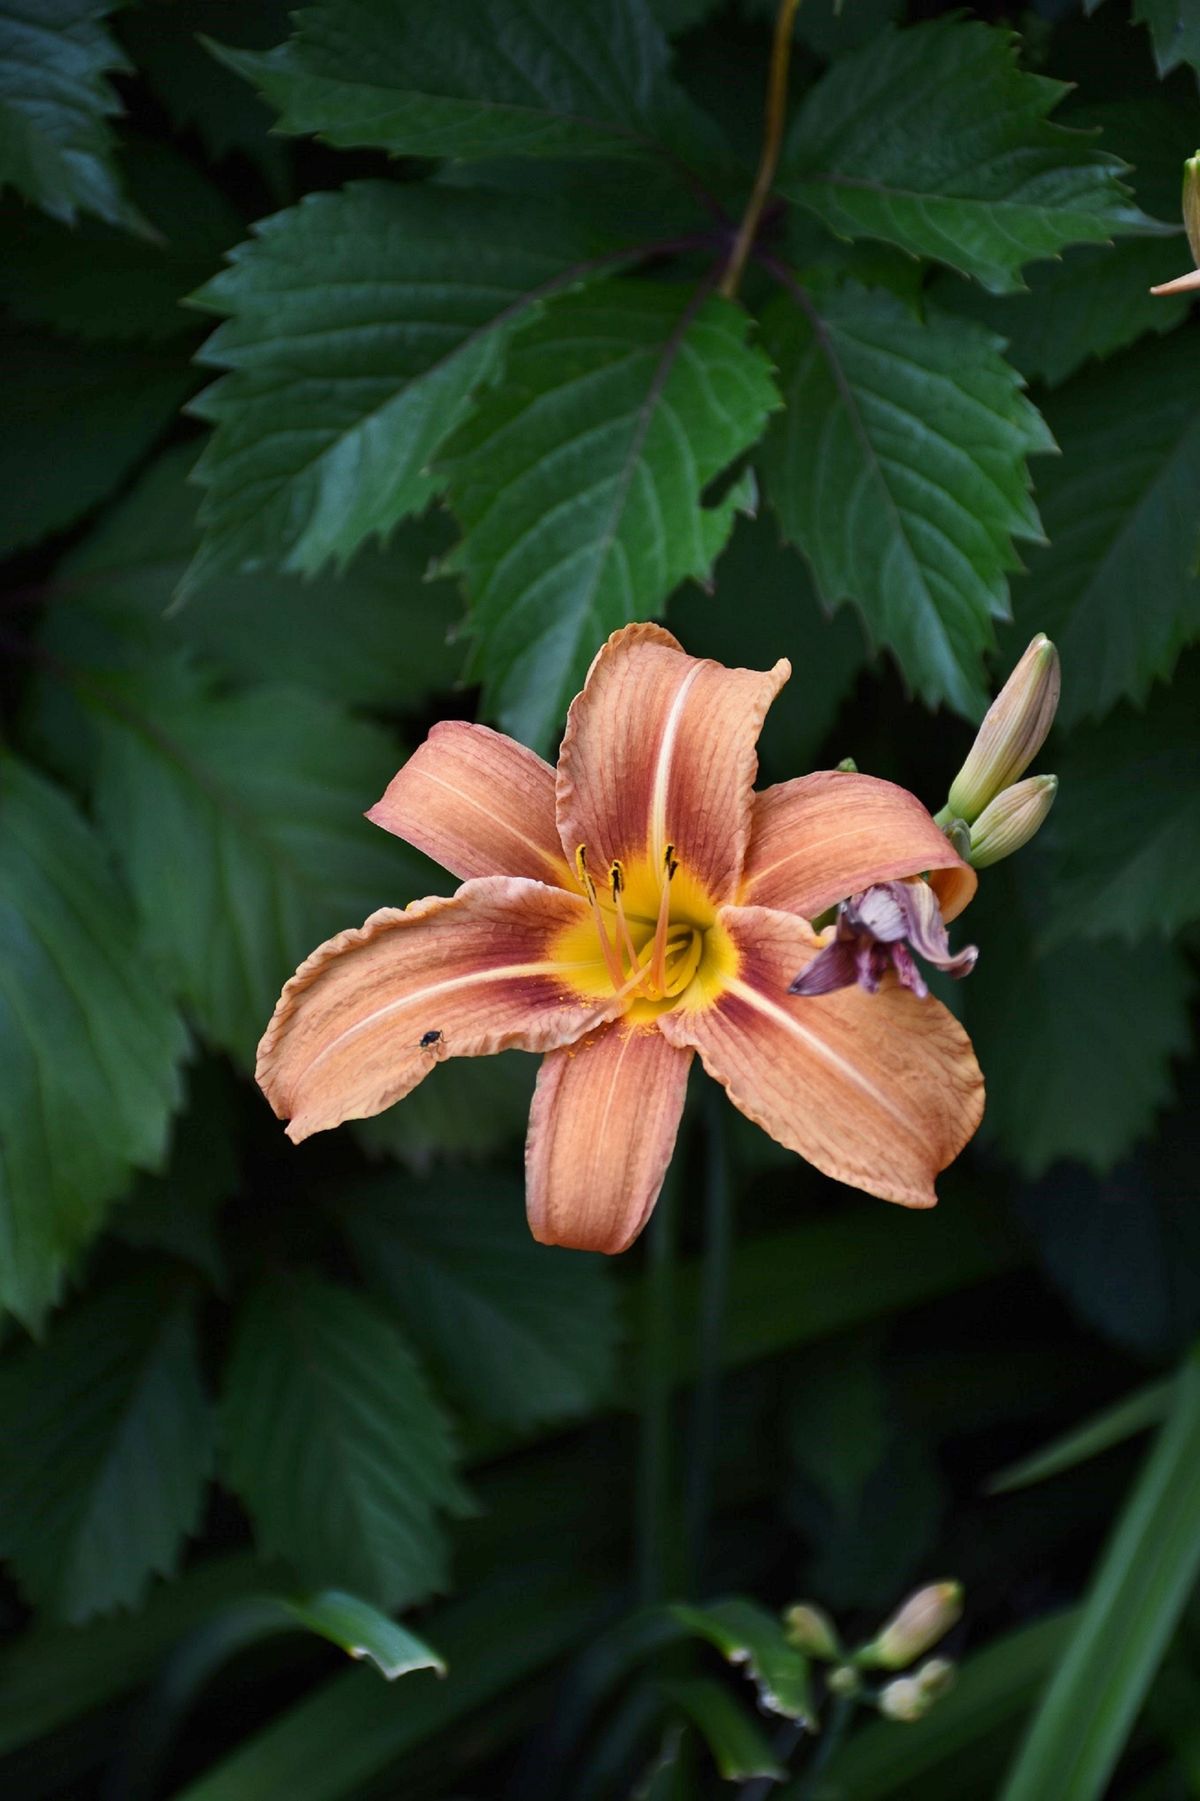
Check the cultivar label and take a photo if different kinds grow close together. A flower that seems easy to remember in July can be hard to identify from a loose group of roots. Put labels beside the new holes and keep an extra one on the tarp. Where a vigorous old orange daylily spreads through underground runners, check local guidance before sharing or expanding it. Some daylilies spread much faster than compact clump forming cultivars and may be discouraged in your area.
Pick a cool day and prepare the landing places
Early spring, before there is much leaf growth, is a convenient time to divide. You can also work after flowering in late summer or early fall. In a cold climate, allow several weeks for roots to establish before the ground freezes. If you are working just as flower stems begin to grow, expect the move to interrupt some of that season's bloom. A cool cloudy day is easier on both the roots and the gardener. Delay if the soil is saturated or if hot dry wind will make it difficult to keep exposed roots from drying.
Prepare a site where the plants will receive plenty of sun. Some cultivars tolerate partial shade, although they may flower less. Soil should drain freely and hold enough moisture for the divisions to establish. Remove perennial weeds, particularly those with roots that can grow through the clump. Loosen the planting area broadly and dig a hole wide enough to spread each group of roots. Separate new clumps by the distance their mature width requires. A row of small divisions can look sparse in the first year and still grow into a full border.
Water a dry clump a day or two before dividing so the soil is easier to work and the plant is hydrated. Gather a digging fork, spade, clean knife, gloves and a sheet or tarp. An old bucket can hold loose roots or discarded centers, and a hose can rinse enough soil away to see the crowns. Plan where you will set a heavy clump when it comes out. A short drag onto a nearby tarp may be easier than lifting it across the bed.
Lift from outside the roots
For a wedge, mark the outside edge of the group you want. Push a sharp spade straight down through the gaps between fans if you can see them. Work underneath and lift that portion, backfilling the gap afterward. For a full clump, begin with a ring of cuts or loosening around the plant outside the densest foliage. Work gradually around all sides before prying upward. Use a second fork to support the opposite side if the root ball is heavy. Lifting by the leaves alone can pull the fans off the roots.
Set the clump down and shake or rinse away enough soil to see how it is built. Leave soil on roots that separate readily. If compact soil hides the crowns, use a gentle spray and keep the roots shaded while you work. Look for natural seams between groups of fans and test whether they pull apart with steady pressure. Some old clumps need two forks placed back to back so you can ease them apart in sections. A clean knife or sharp spade can cut through stubborn connections. Aim the cut between crowns and keep several healthy roots on every piece.
For a transplant that will fill a bed sooner, keep a few fans together per division. One rooted fan can grow, but it may take longer to make a substantial clump. Trim off clearly damaged or rotten roots and discard a soft dead center. Firm pale or tan roots can remain even if they are bent. If the plant has a large amount of foliage and you are dividing it after flowering, shorten the leaves enough to handle the pieces and limit water loss. Keep the crown and new central growth intact.
Set each crown close to the soil line
Hold a division over the hole with the crown level you want. A small mound beneath the crown can help spread the roots down and out. Set the crown near the ground surface, with about an inch of soil over it at most. Check the depth again after you add soil and water because loose fill can settle. A fan planted too deep can struggle to flower. A crown left perched high can dry out or heave when soil freezes and thaws.
Backfill around the roots and gently firm the ground so they make contact. Water thoroughly and allow the soil to settle. If there are holes around the base, add a little soil around the roots. Apply a thin mulch to conserve moisture while leaving space around each crown. Put labels where you can find them after weeding. For a border you are moving in stages, note which divisions were replanted today and which older clumps still need attention.
Give the new divisions regular moisture during the first weeks, especially in a late summer move. Check beneath the surface before watering again. Leaves can look limp on the first afternoon while roots settle. A center that remains firm and begins to make a fresh leaf is a better sign of establishment than the state of the oldest leaves. In a warm spell, keep exposed roots covered during the move and plant the first finished divisions while you are still sorting the rest.
Set a reminder to check the plants after several dry days. The untouched clumps in the same bed may still look fresh because their roots reach farther. A newly divided fan depends on the soil nearest its crown until it has spread a new group of roots.
Judge the planting the following season
Expect the amount of bloom to vary after division. A sturdy group of fans may flower fairly soon, while a small piece may put most of its resources into leaves and roots. Keep weeds away from the crown and inspect the planting after the first winter. If freezing and thawing pushed a division upward, settle it back to the right depth when the soil can be worked. Check whether water collects at the new site after rain. Reposition a small plant early if it is sitting in a low wet pocket.
Daylilies make individual flowers that commonly last a day, with a succession of buds on each scape. A spent stem can be removed after its last buds have opened if you do not want seeds. Let healthy leaves remain while they are feeding the crown. Cut damaged or dead foliage when it is useful to do so and clean tools before moving between questionable clumps. If you see unusual leaf streaking or soft tissue spreading at the base, set those divisions apart until you identify the problem.
Keep one spare in an easy place to reach if you divided a cultivar you especially like. Put the strongest groups where their height and flower color fit the border and give extras to someone who has space for them. Include the label and tell them how deep you set the crowns. Next season, compare the relocated plants with any wedge you left in place. Their new growth will show which spot supports the clump without asking for another move soon.
If you must hold divisions overnight, put the roots in a shaded container and cover them with barely damp material. Keep the crowns out of standing water. Plant as soon as you can work the new site. For a longer delay, set the divisions temporarily into loose soil in an out of the way corner and water them in.
Back to top